


Abandoned Desert Village


Brick by brick (part 2)
Next, start carving the brick detail. There are a couple of options tool wise for carving styrofaom; the back edge of a knife, a toothpick or a pencil are all good options. Basically, you need a tool that will press in a shallow groove without cutting too deep into the foam.
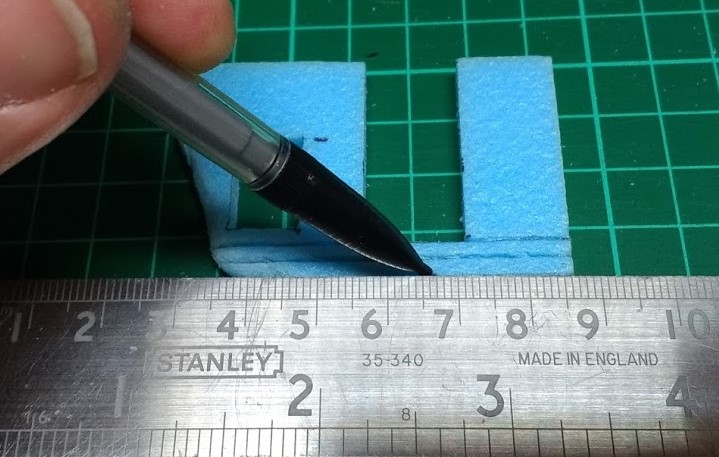 First, lay in some horizontal parallel lines about 3mm apart. If you want to represent regular sized bricks, keep the gap consistent, but if you’re going for a more rustic, hand made brick or stone wall effect, it’s ok to allow a bit of variety in the thicknesses of the brick layers.
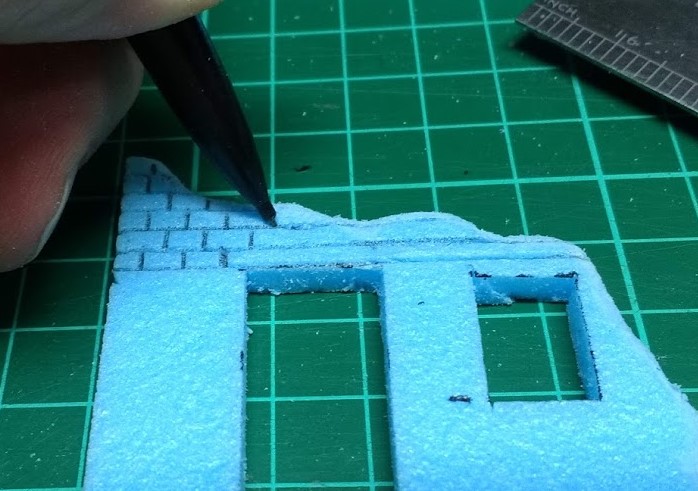 Next add in the vertical lines, aim to get a regular looking overlapping pattern going unless you are going for the rustic look. This is what I am going for, I imagine these bricks were hand made so they are almost, but not quite, the same size.
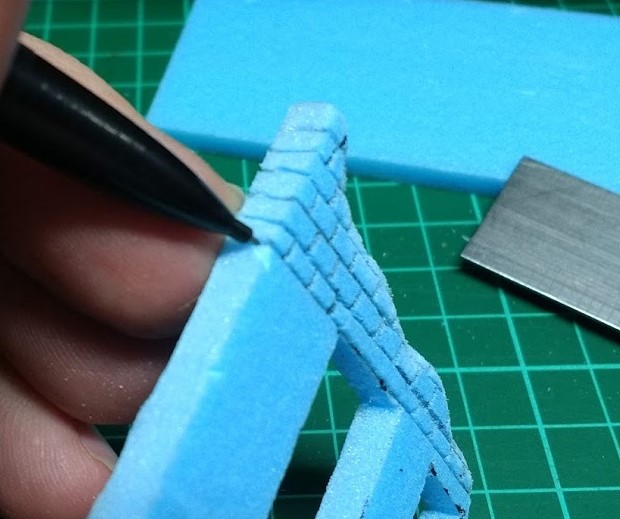 Carry the mortar lines around the edges so that when you carve the reverse side, the layers of bricks line up.
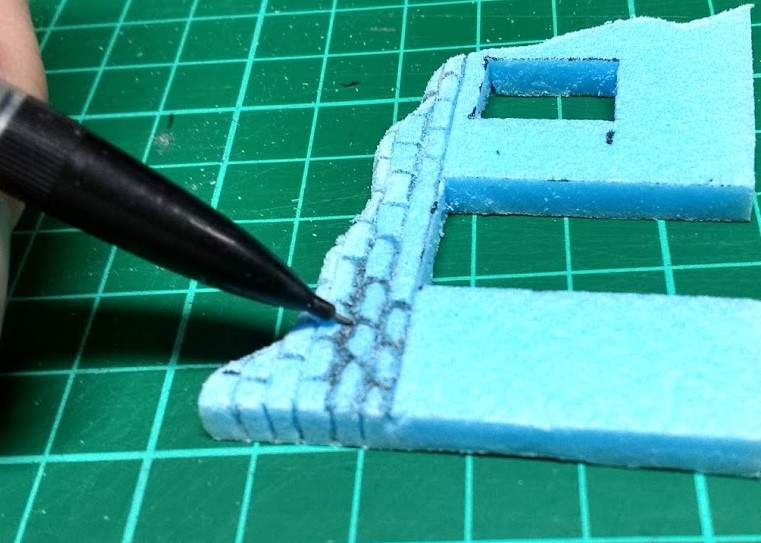 This will leave you with a nice neat regular looking bit of masonry. To age the brickwork and make it look a bit more irregular/rustic or more like stone, the edges of the bricks can be modified. Use the sculpting tool (I usually use a pencil) to press around and round over the edge of the individual bricks. This can take a while, but it adds a lot of character. Large areas of these walls will be covered with plaster/render, so the detail only needs to be carved into the exposed brick work around the collapsed edges and on any patches where the plaster has eroded/fell off.
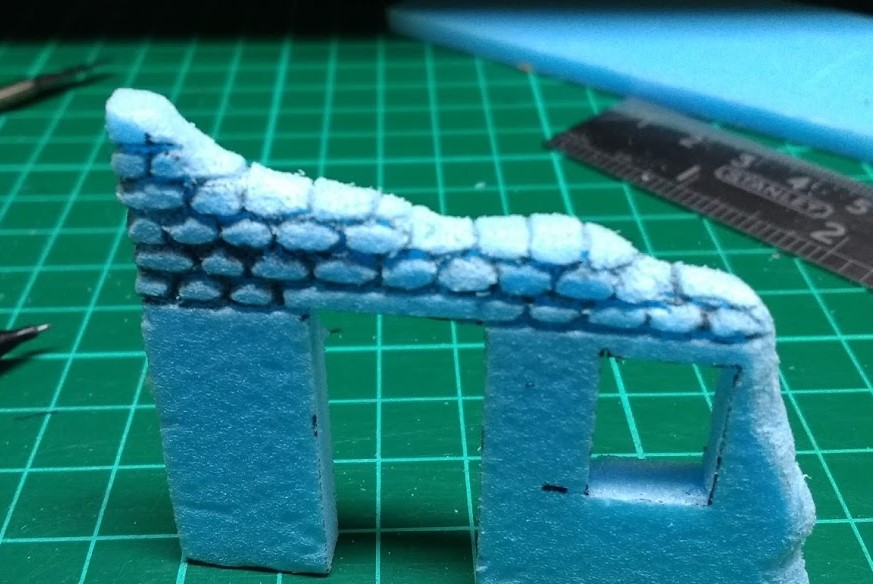
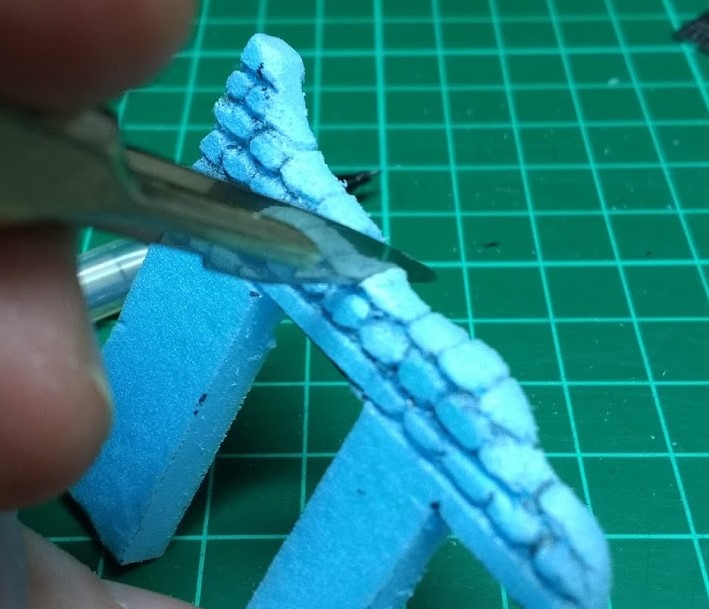 Once the brick pattern is carved in, individual bricks can be cut out of the free-standing wall ends to get that damaged/collapsed look going.
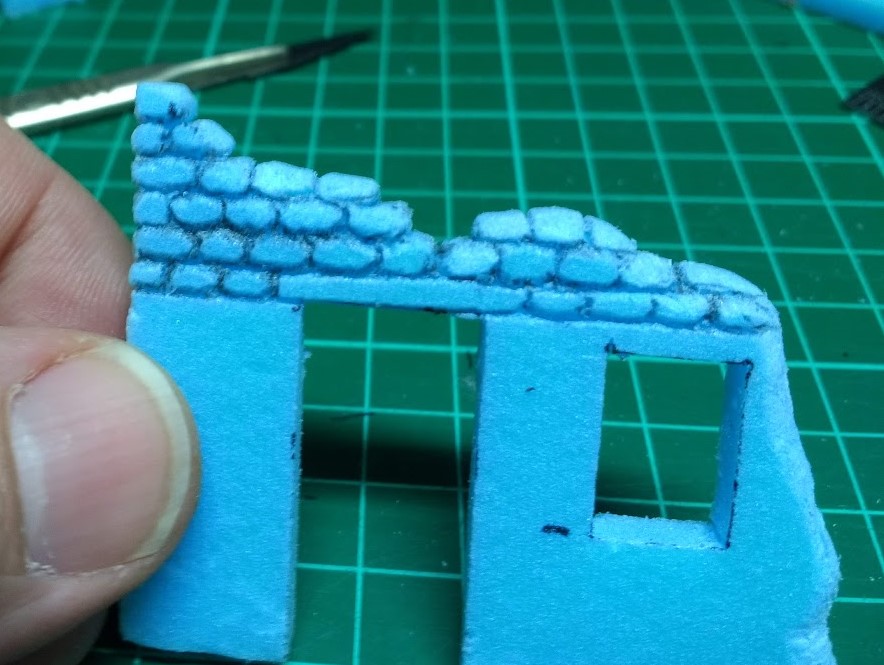


Leave a Reply