


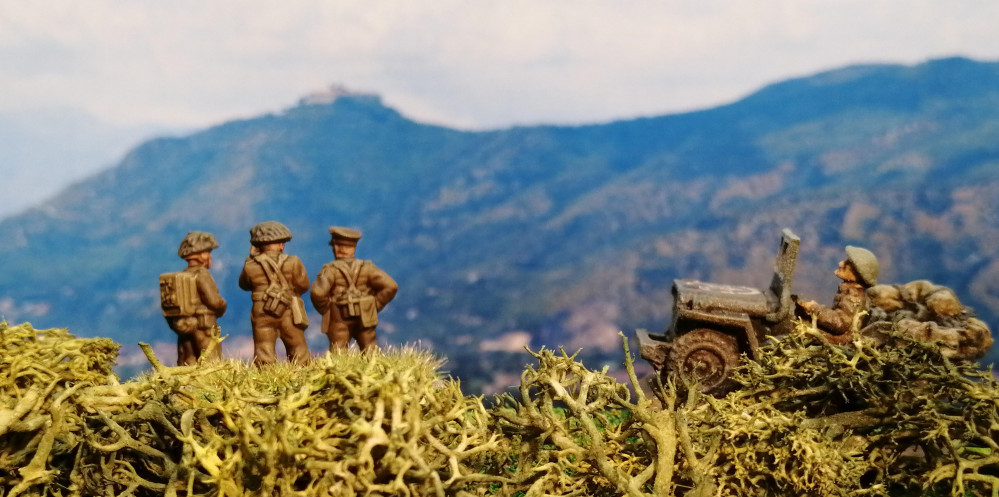
75th Anniversary of the Battle of Monte Cassino and Northern Italy (Gaming The Battles)


Monte Cassino -First Table Top Battle (Turns 3 and 4)
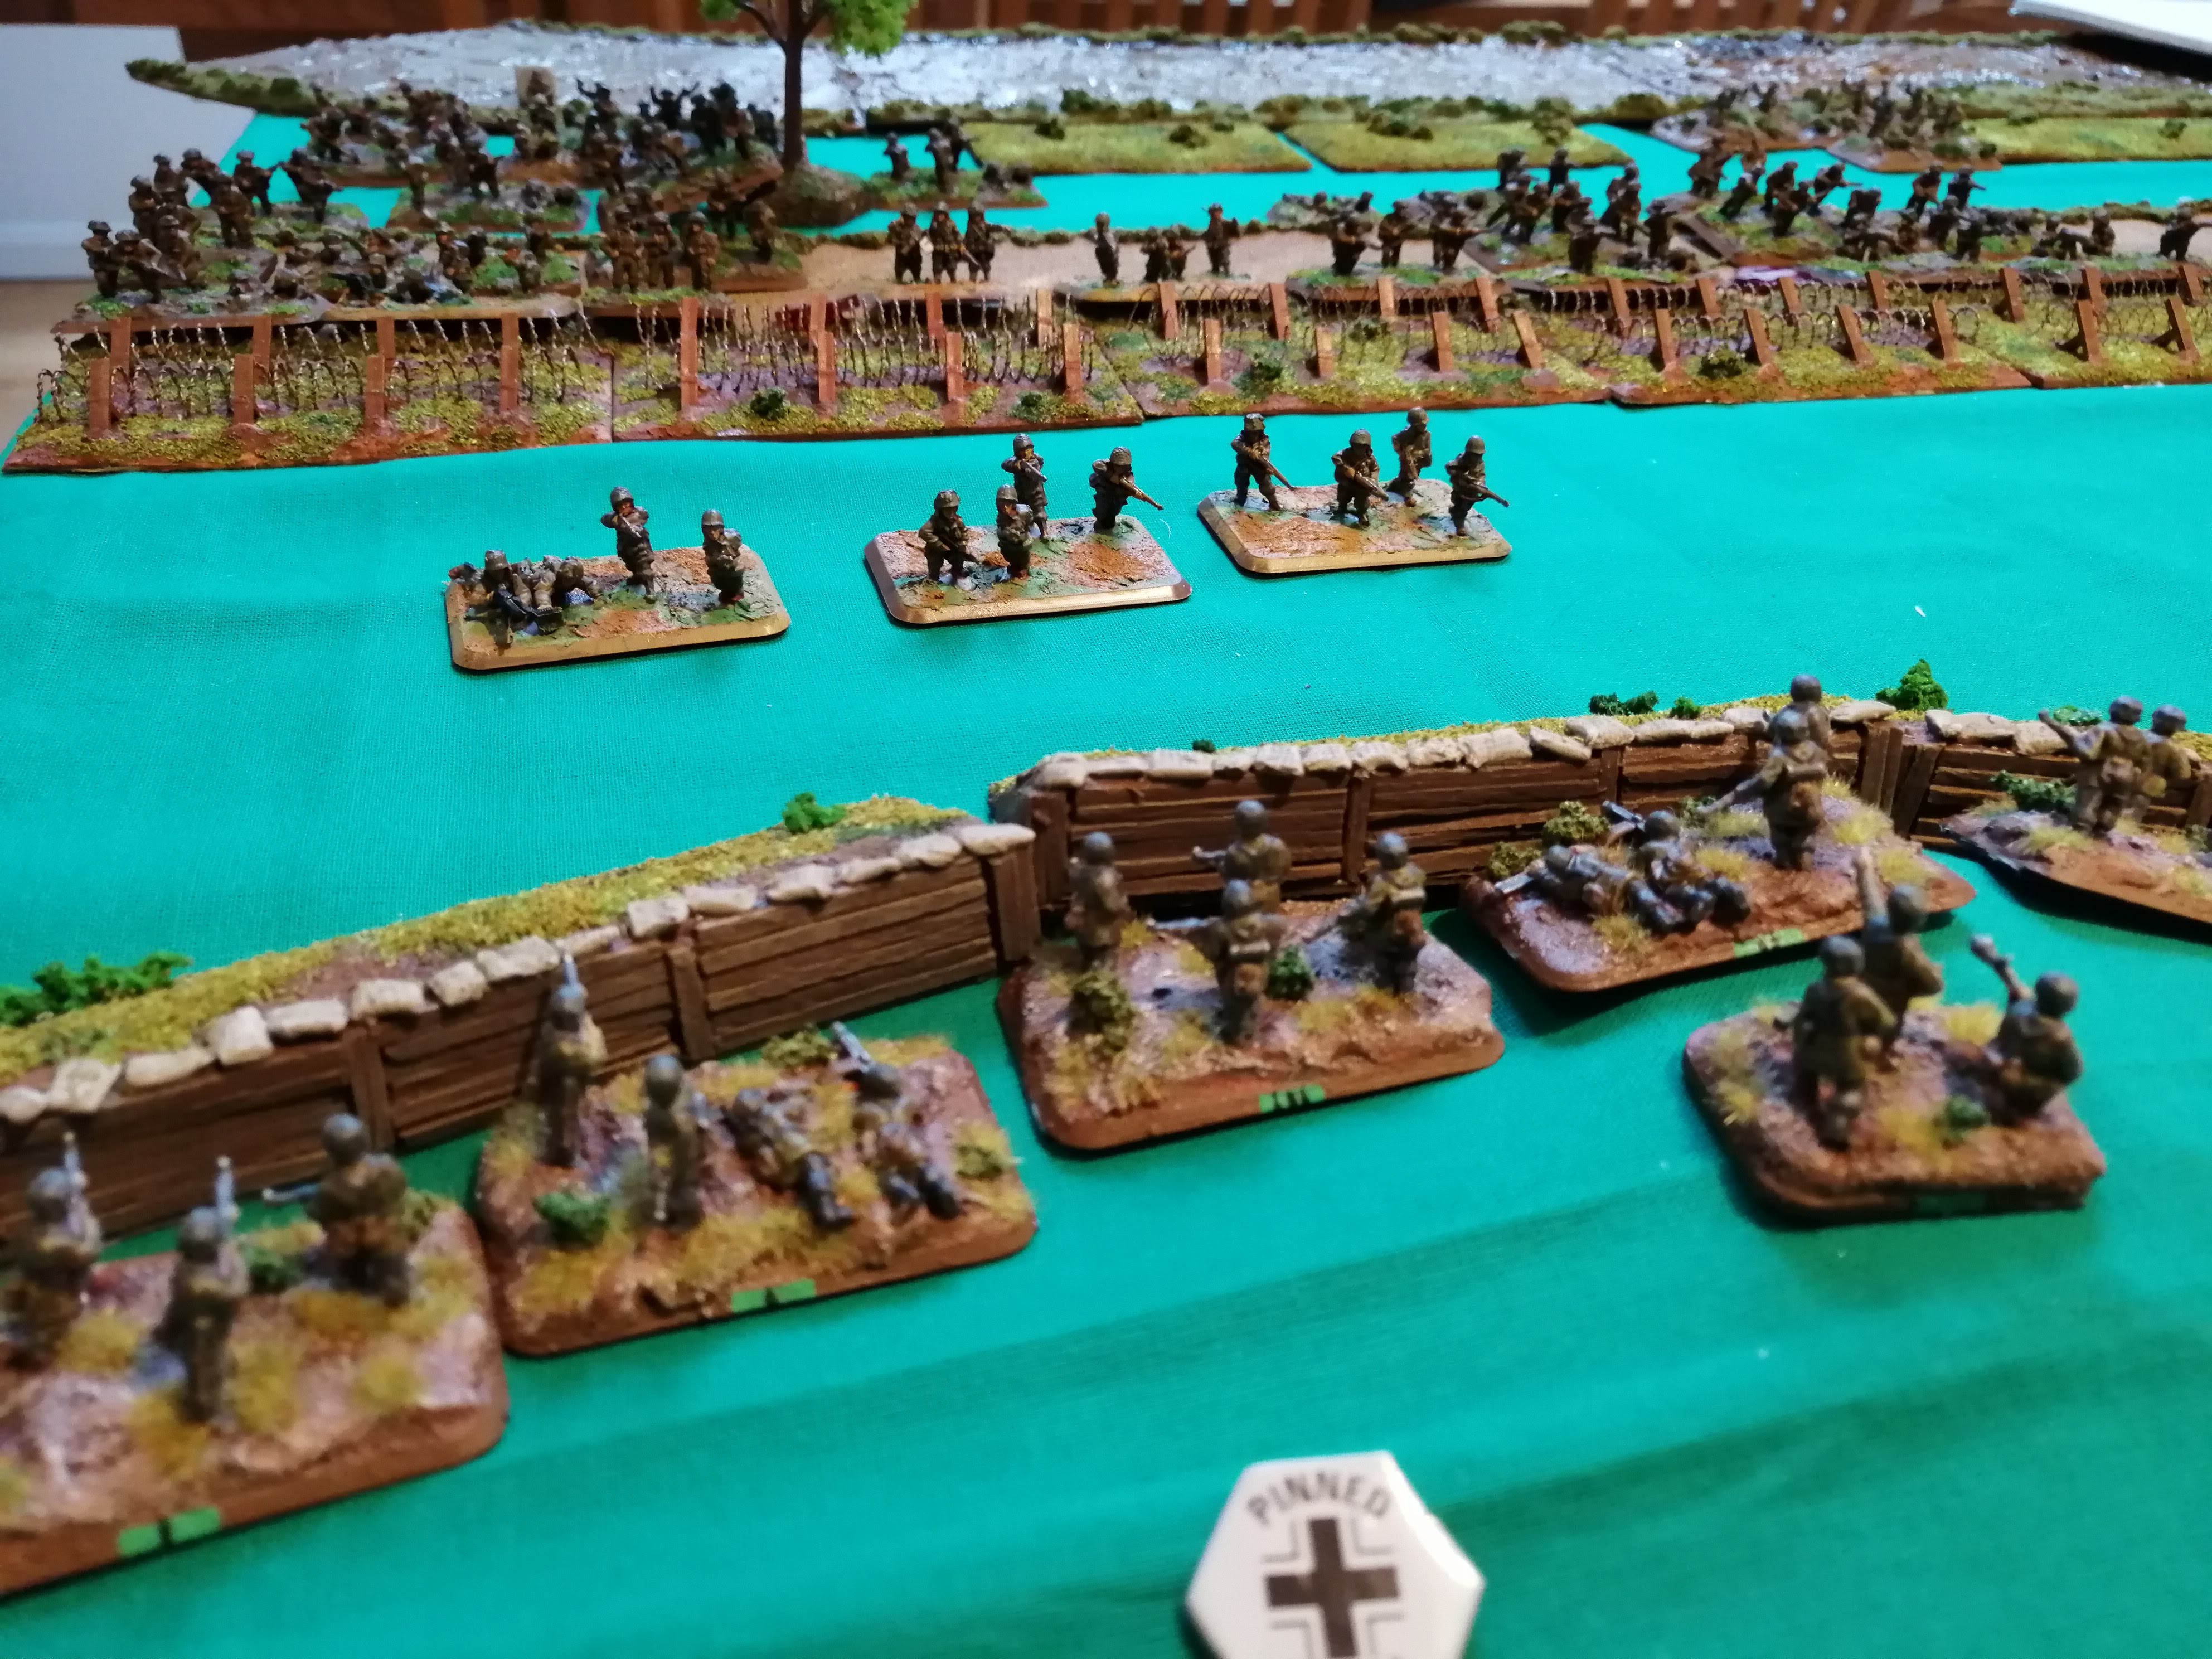
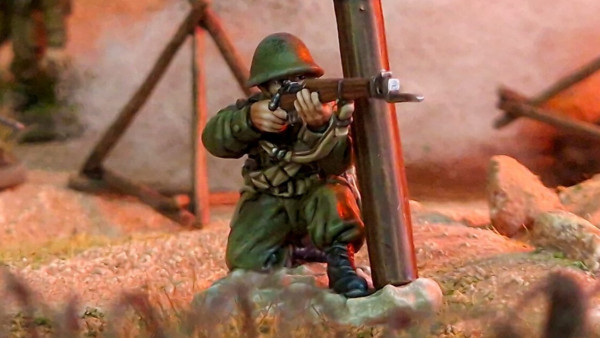
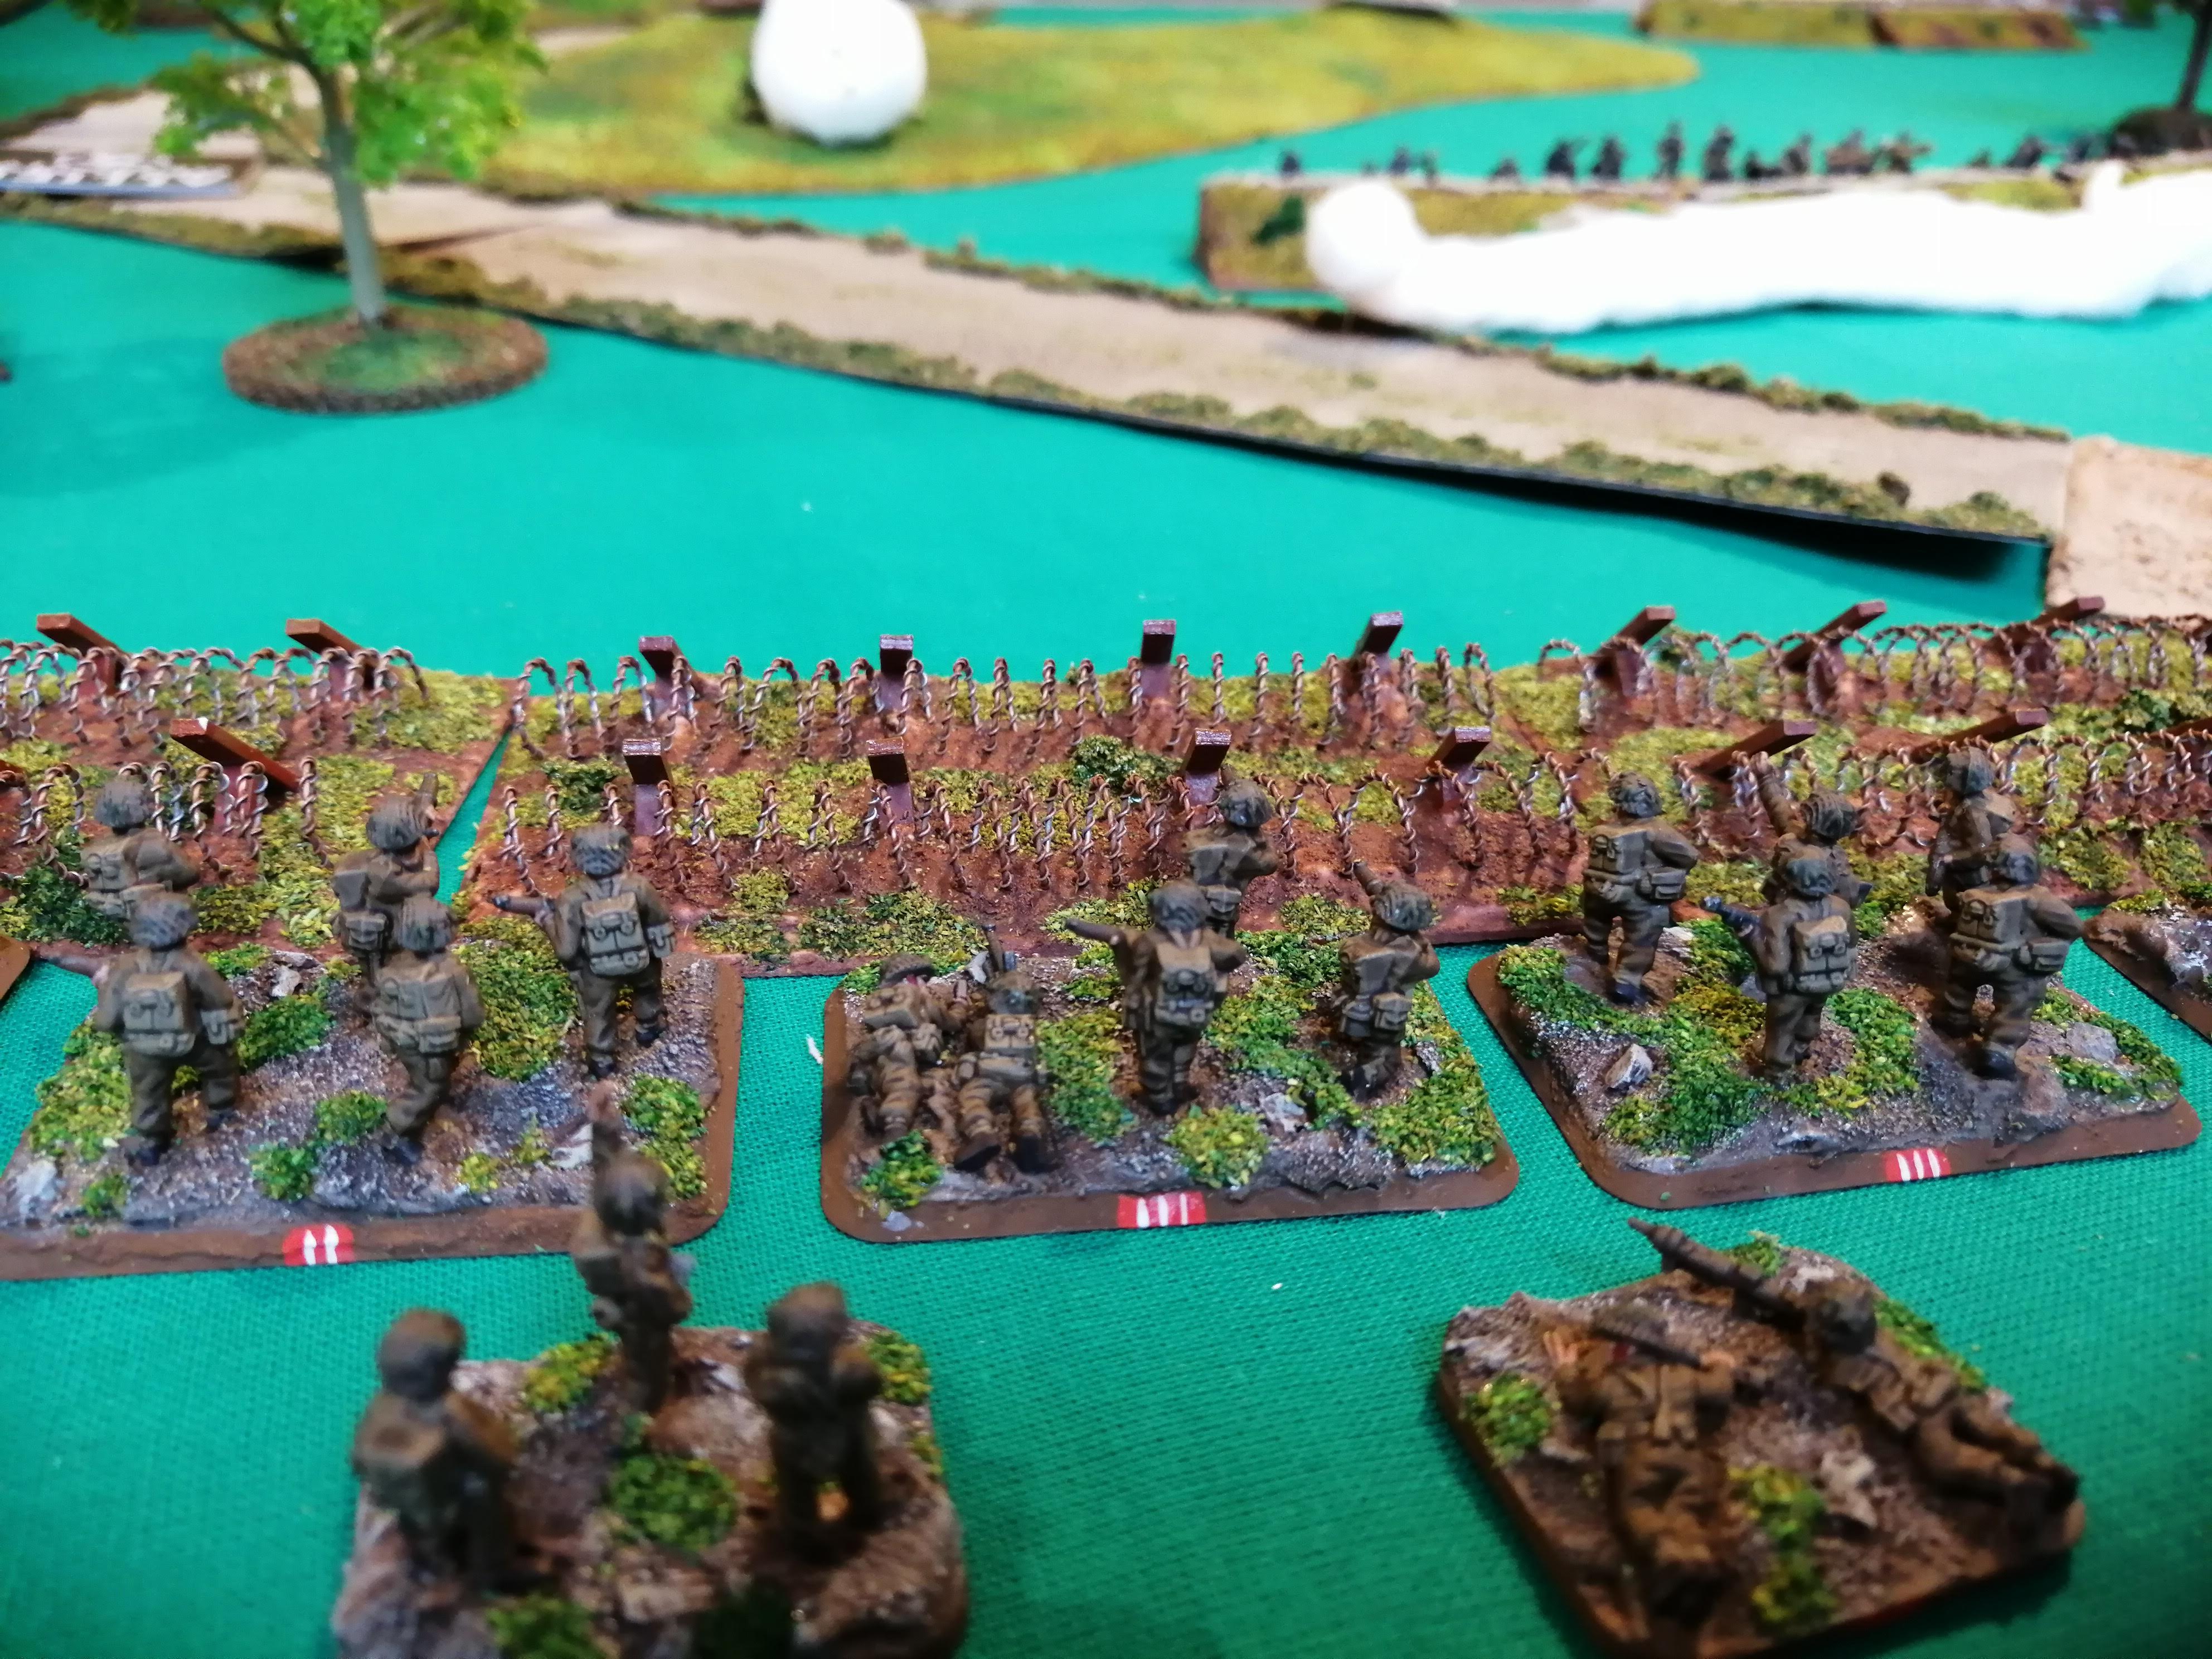 RPD hard up against the barbed wire
Project best read in reverse order!
Top of the Third turn
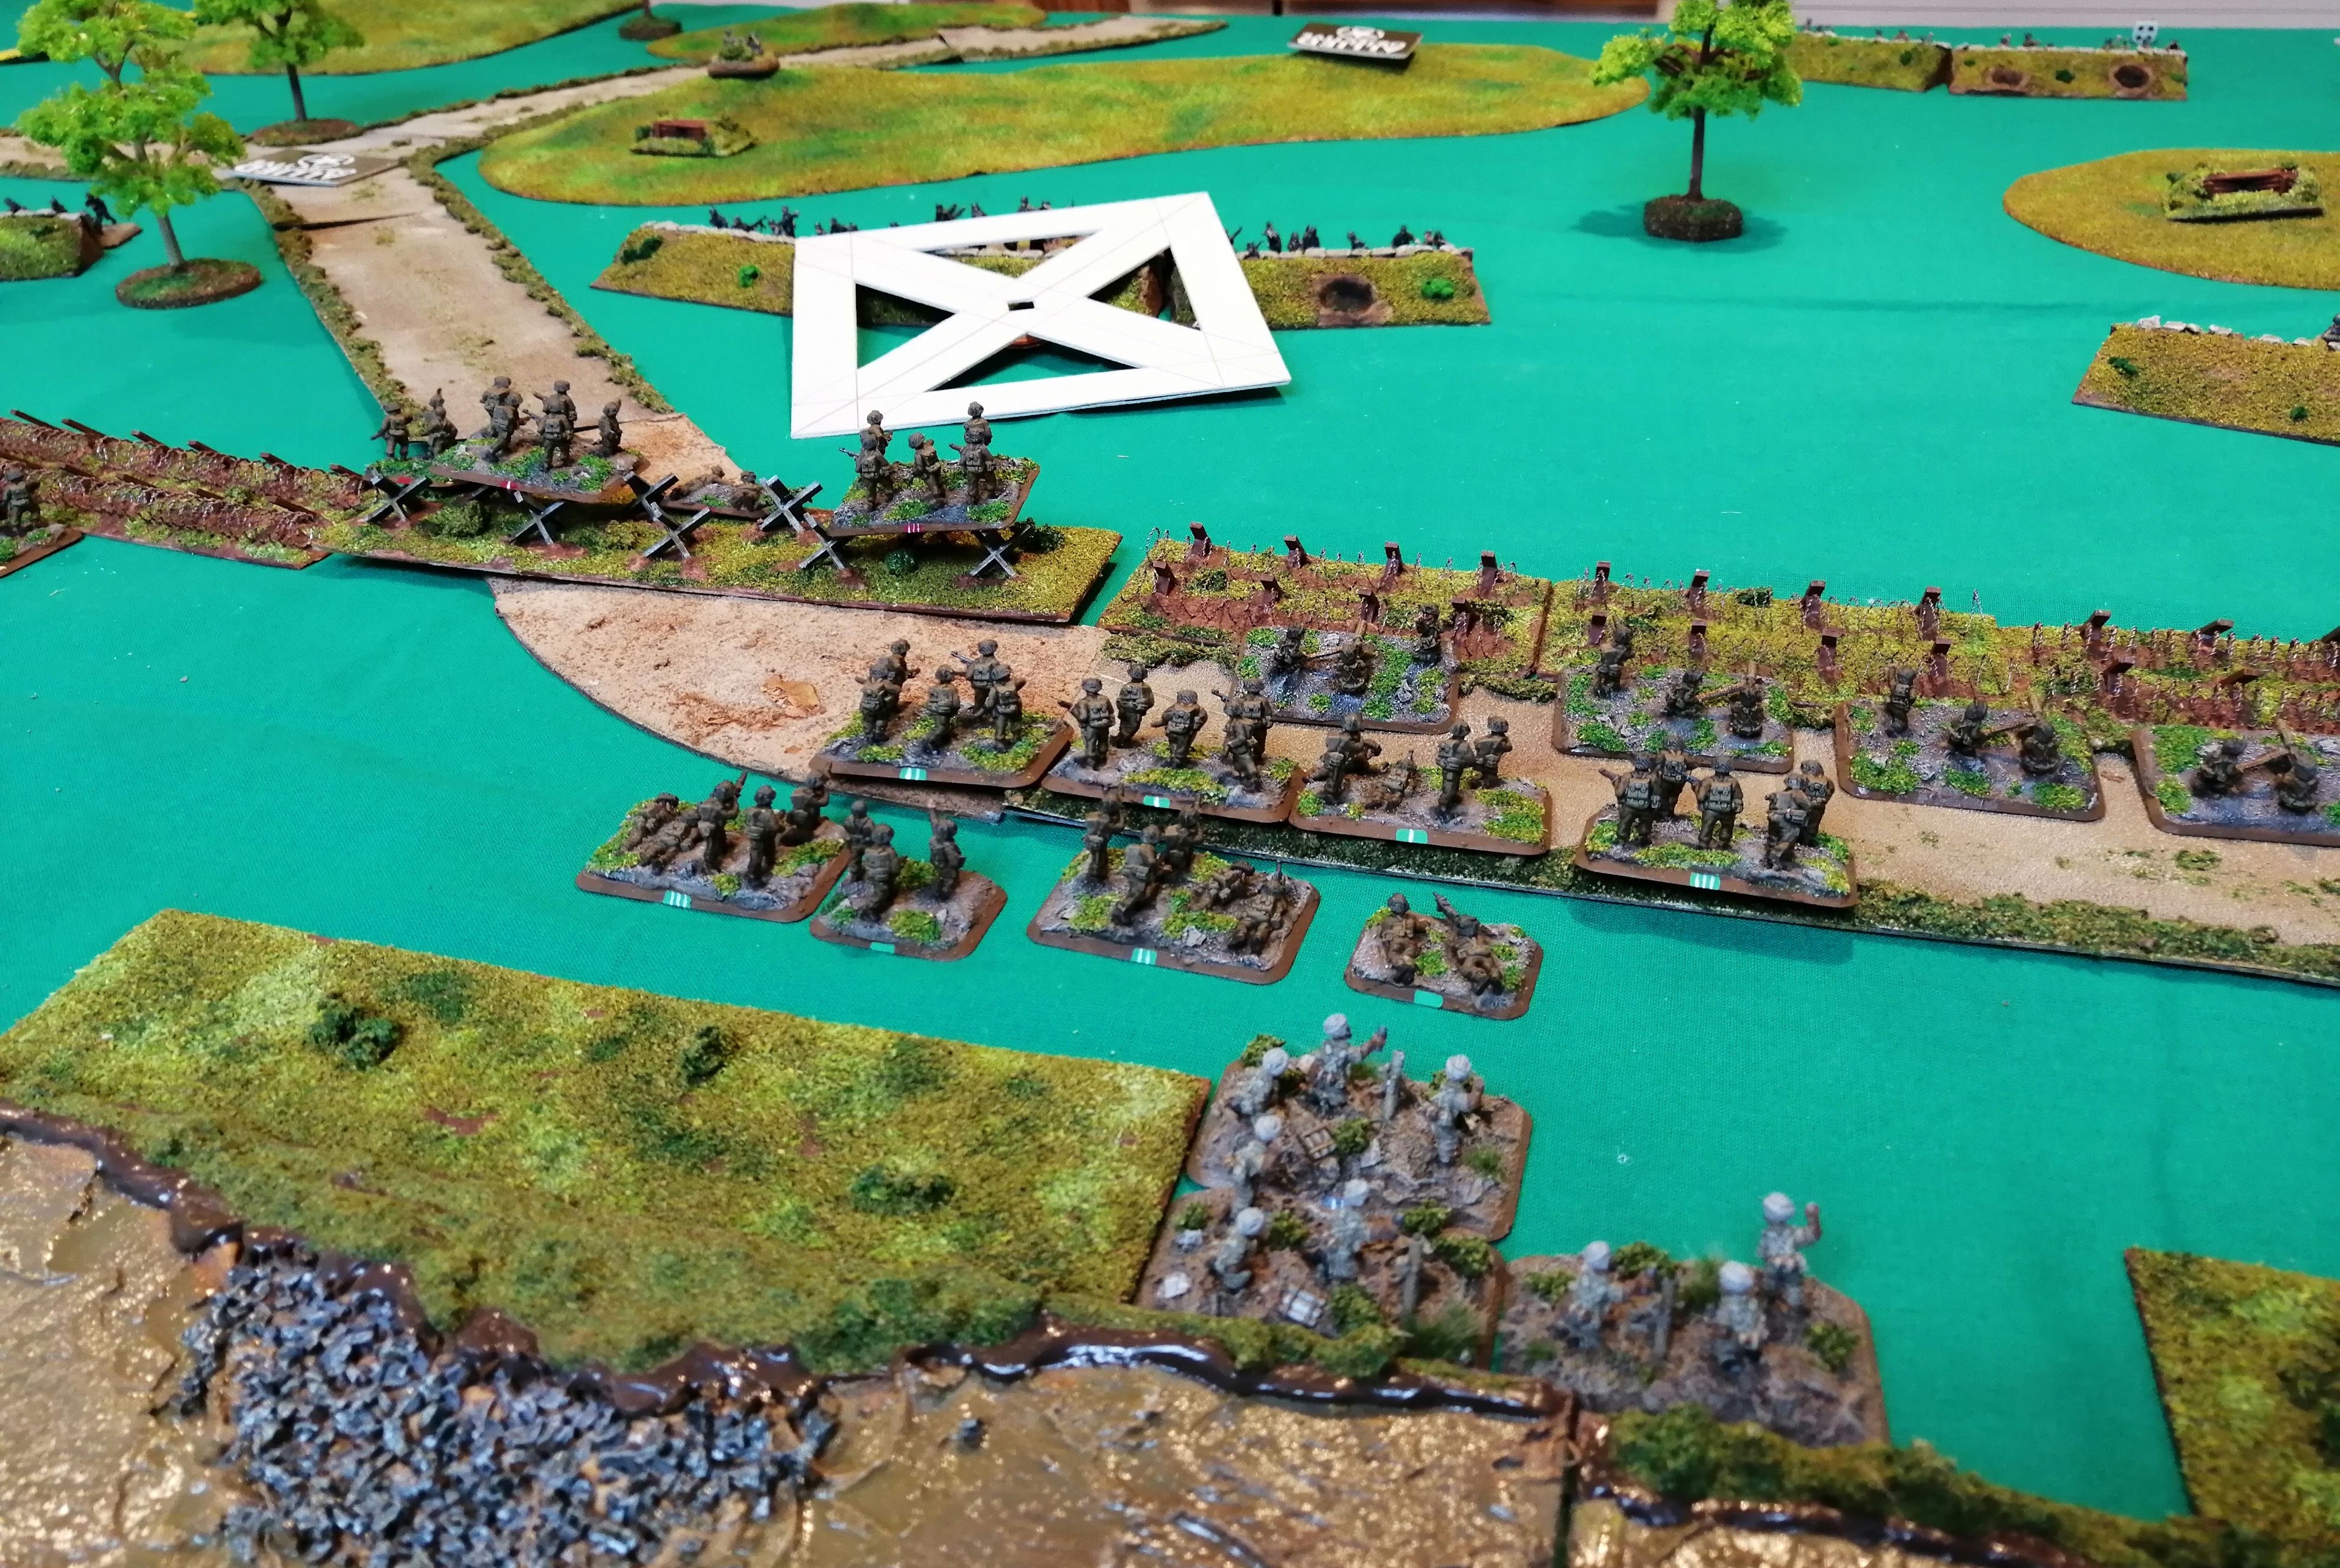
Turn three sees desperately needed reinforcements arrive for the 36th. Assault Platoon B (AP B), accompanied by the 2nd in Command (2iC) rolls for their deployment and deploys alongside the Engineer team on the US right. Rifle Platoon E (RP E) also arrives and their deployment roll is a 6, giving the US the choice on where to deploy, opting for the area clear of mines, just to the right of centre.
During the starting phase, what’s left of AP A fails their morale check and they are removed from the battlefield. RP C unpins but RP D and the Engineers remain pinned down by the incoming fire.
The newly arrived platoons waste no time in getting forward. AP B advances past the pinned Engineers up to the barbed wire, bravely putting themselves between the MG’s of Green Platoon and the Engineers. RP E advance along the road up behind MG teams, looking to add their fire power to the advancing AP B.
RP C, now unpinned, inch forward and are able to move the bazooka team within range of Black Platoon in their trenches, with the hope that the improved firepower might be able to punch through.
The Engineer team, still pinned and therefore rolling only 2 dice can’t add to the bridge score, which remains at 3.
With the movement complete, the 36th look to deliver some payback to the defenders. Both AP B and the MG teams open up on Green Platoon. A lot of hits are scored but the bullet proof cover saves the defenders from losses but Green Platoon end up pinned.
RP C and RP D both fire on Black Platoon but fail to score any hits. The bazooka team of RP C need a 6 to hit and gets it! Black Platoon fail their saving throw but are saved by their bullet proof cover, ending up being showered with mud, splintered wood and debris taking just minor wounds.
The mortar team launch a repeat bombardment but having used their smoke bombardment, use explosive shells instead. The repeat location is not ideal for this, being placed for smoke in the previous turn but guarantees hitting and still catches five of Black Platoon. It fails to cause wounds but does pin Black Platoon down.
Finally, the tank shots manage to smoke both of the HMG nests again.
At the end of the 36th 3rd turn, as in the real battle, their progress has been kept contained by the defenders and their losses are high. It looks as if history will repeat itself on the tabletop.
Middle of the Third Turn
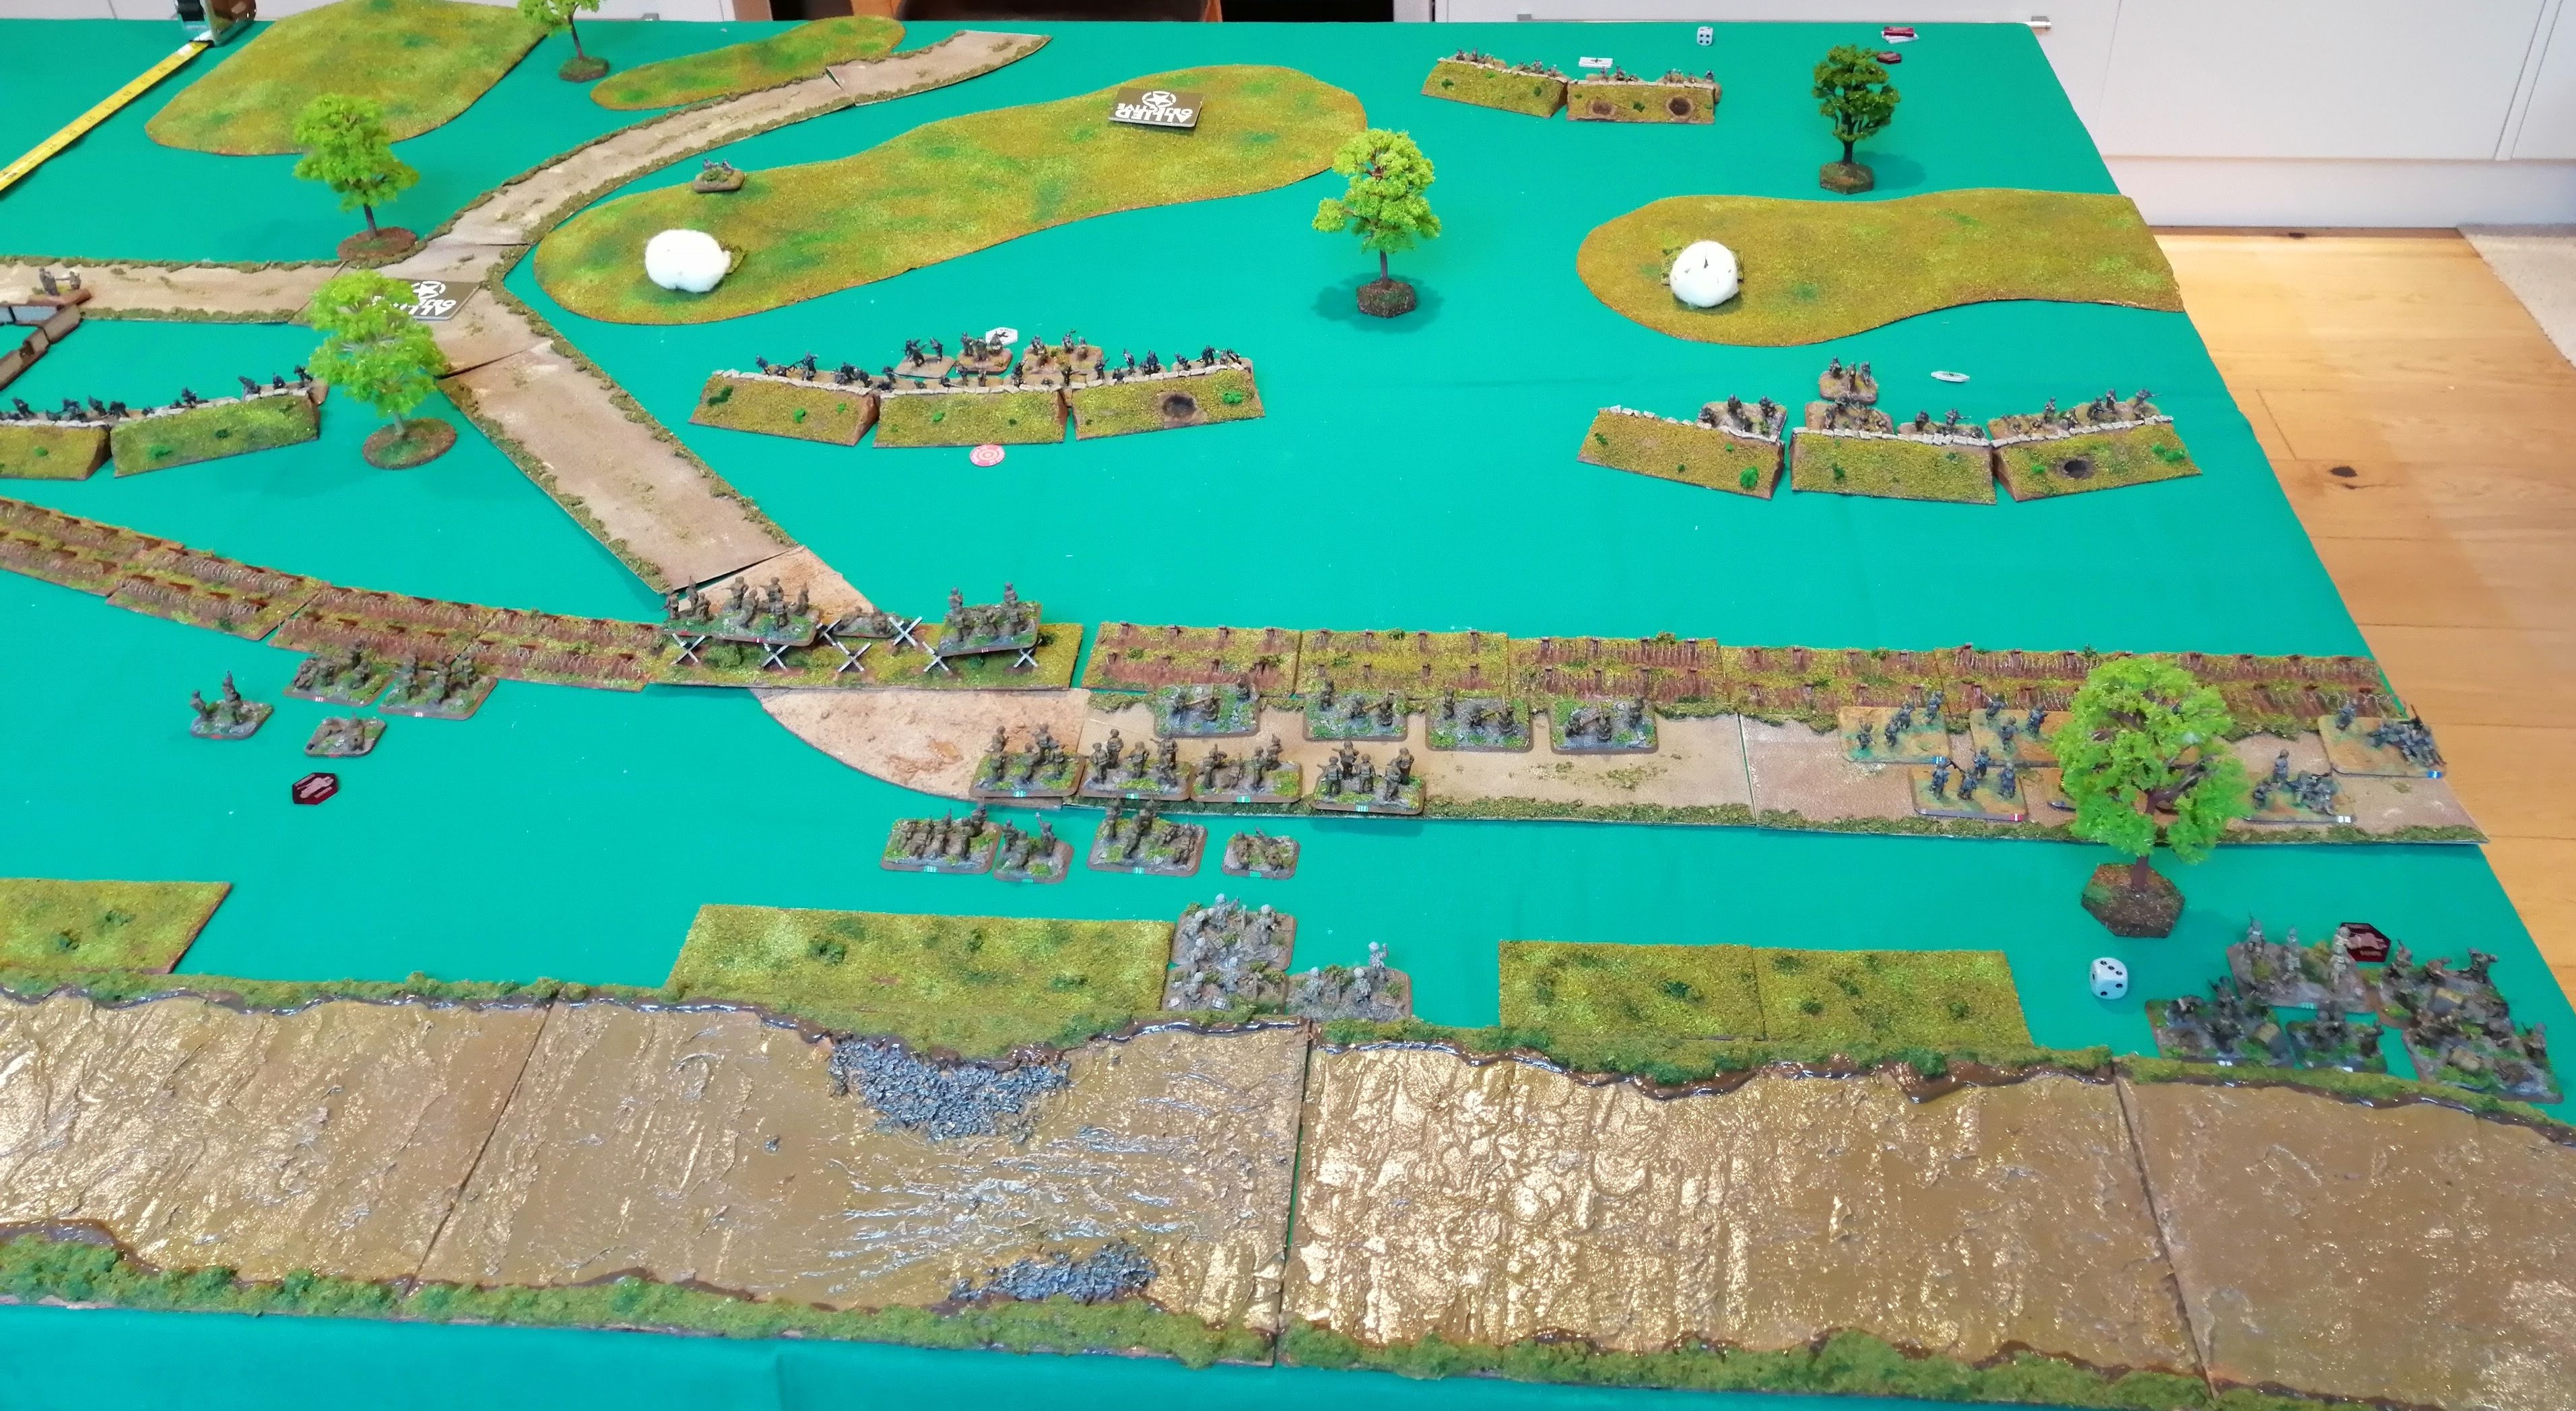
The 15th PG roll to unpin their units and succeed with the Mortar team and Black platoon however Green Platoon fails and remains pinned. There is no point in moving out of the entrenched areas and so 15th PG moves straight to the shooting phase.
Green Platoon splits its fire upon the AP B and the MG Teams. They score 4 hits against AP B but all are saved and not enough to pin the unit. The MG teams fail a save and lose one team and are reduced to three. HMG 2 attempts to pour fire into AP B but misses all of its shots!
Black Platoon splits its fire against the MG teams and RP C. The MG teams survive but end up pinned by the weight of incoming fire power. The fire from Black platoon into RP C is joined by HMG 1 and together they kill a team and pin the remainder of the platoon.
Red platoon fires on RP D killing a further two teams.
The mortar team, now unpinned, can begin to rain shells down upon the beleaguered 36th. The spotter on the hill calls in a bombardment against AP B and manages to range in and land a number of hits against the platoon, killing one team. AP B, who had been grimly advancing against the incoming MG fire, hit the deck when the shells land and are pinned.
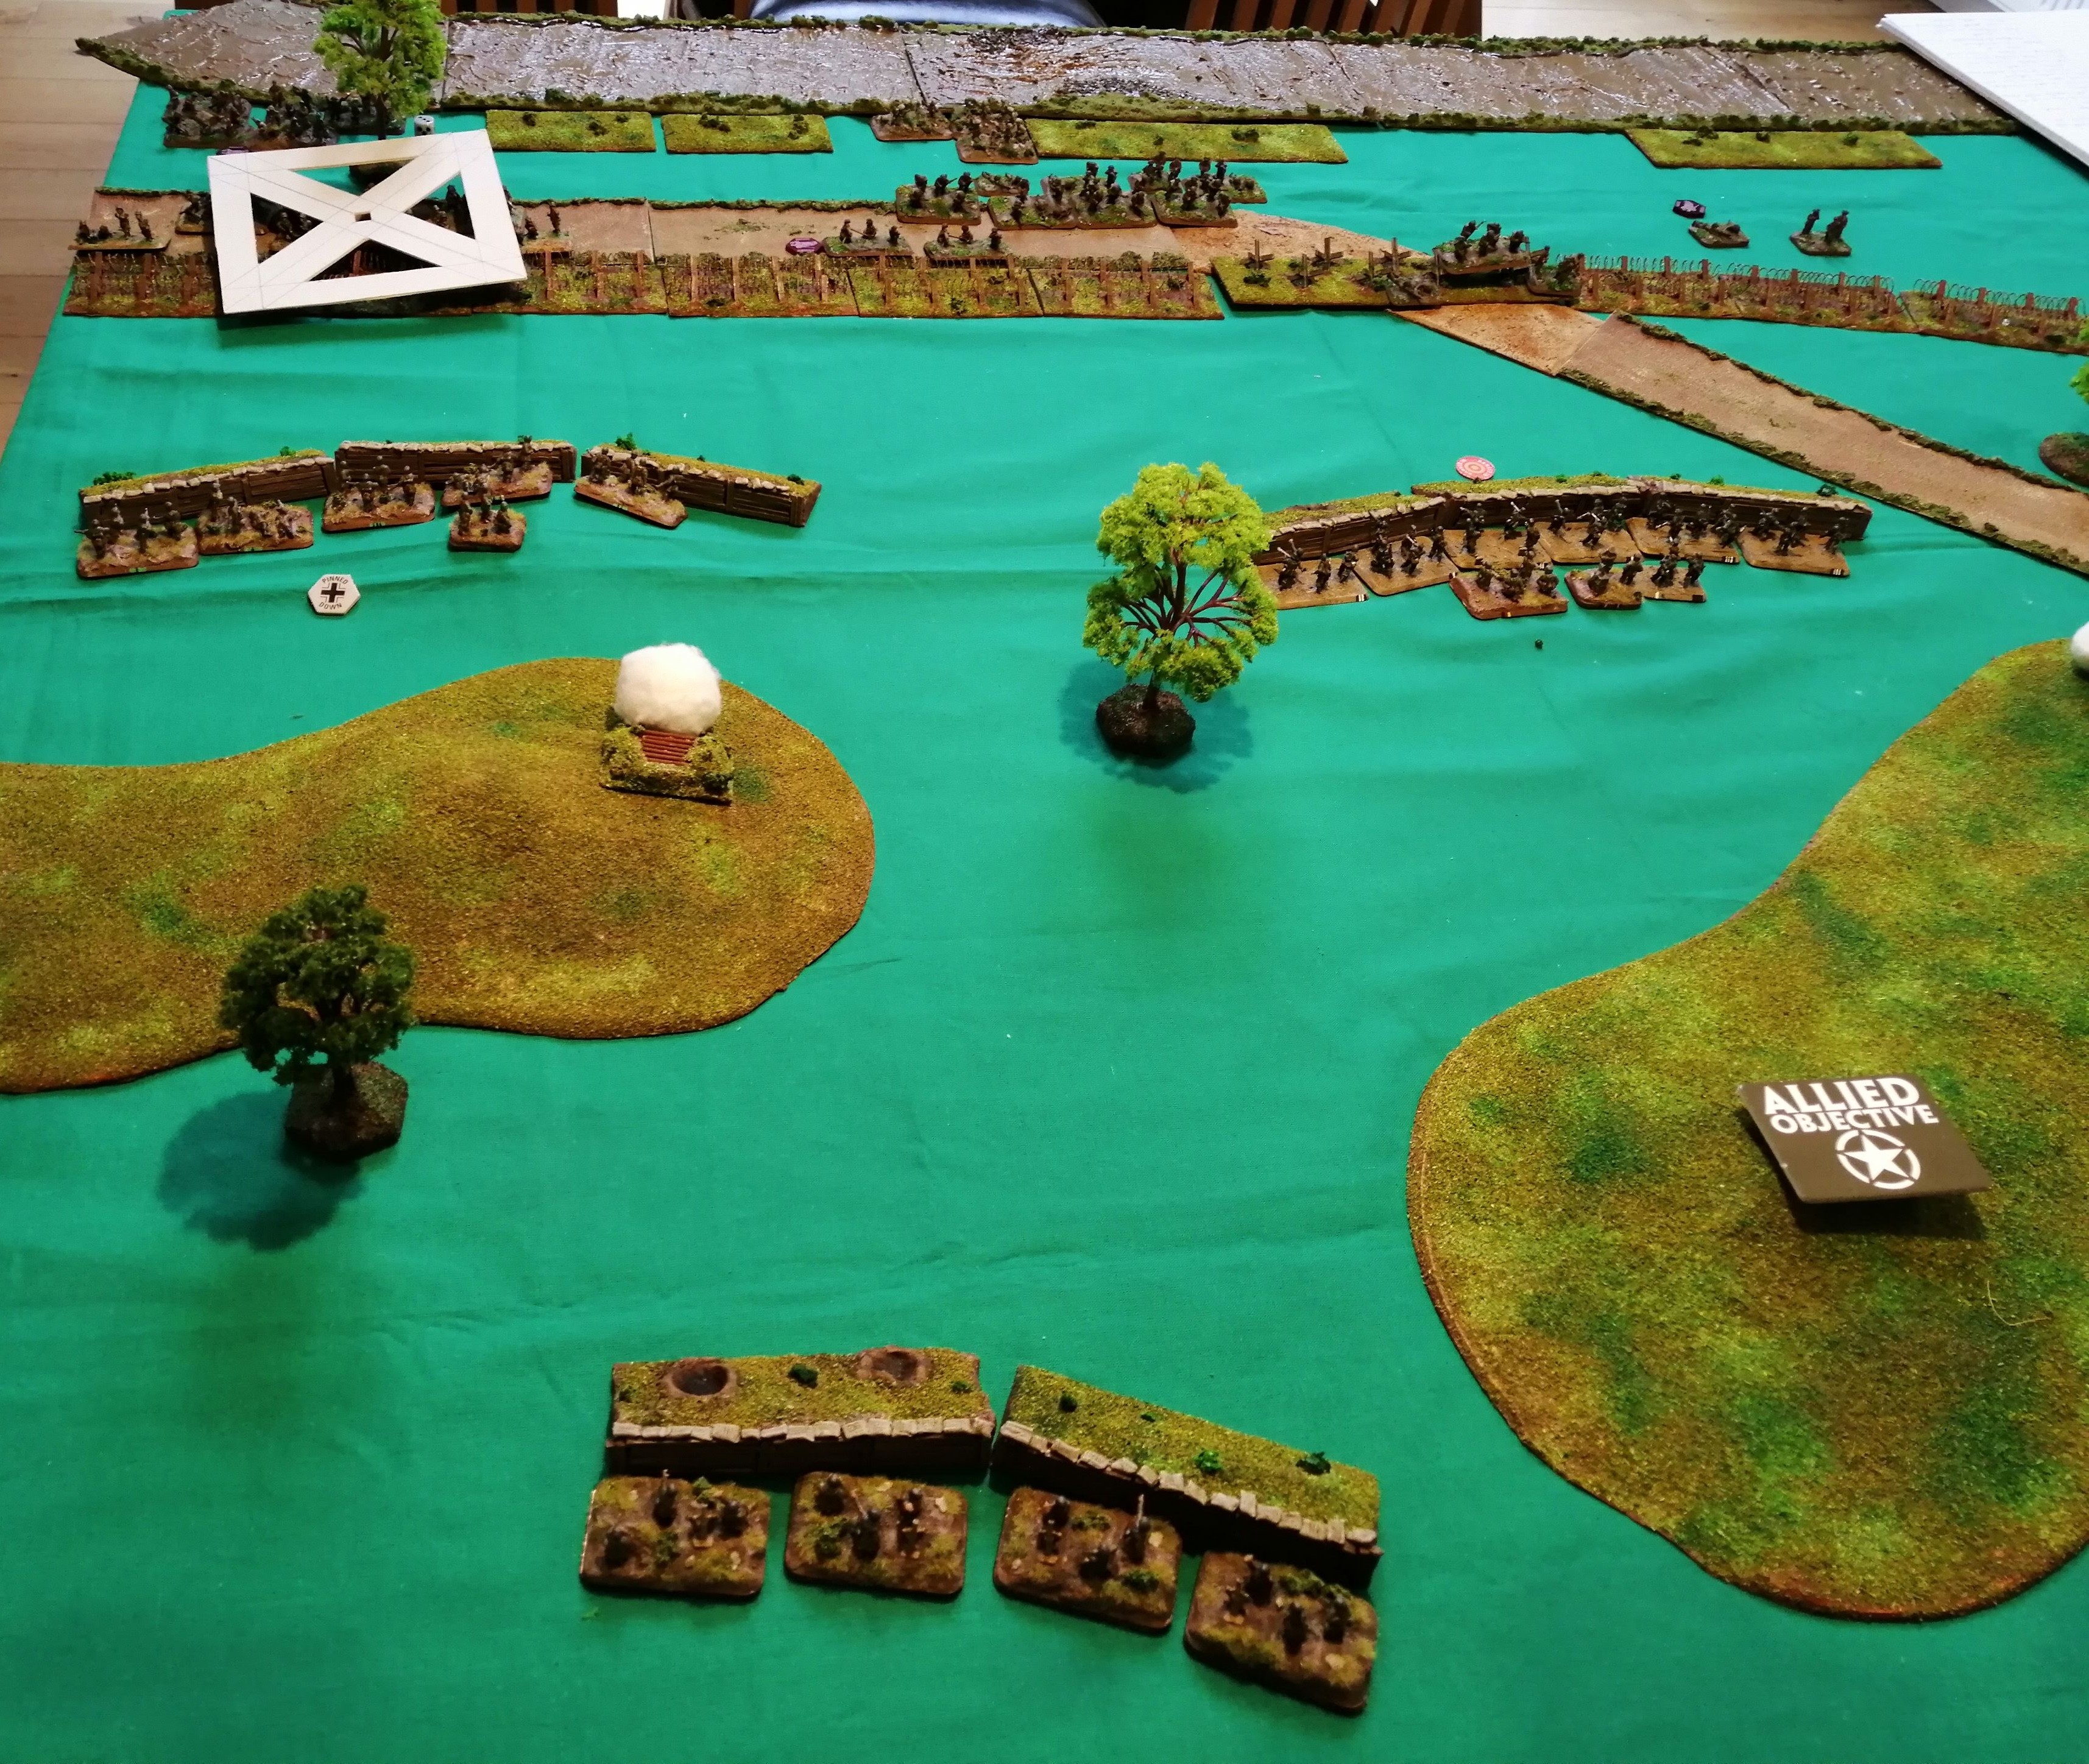
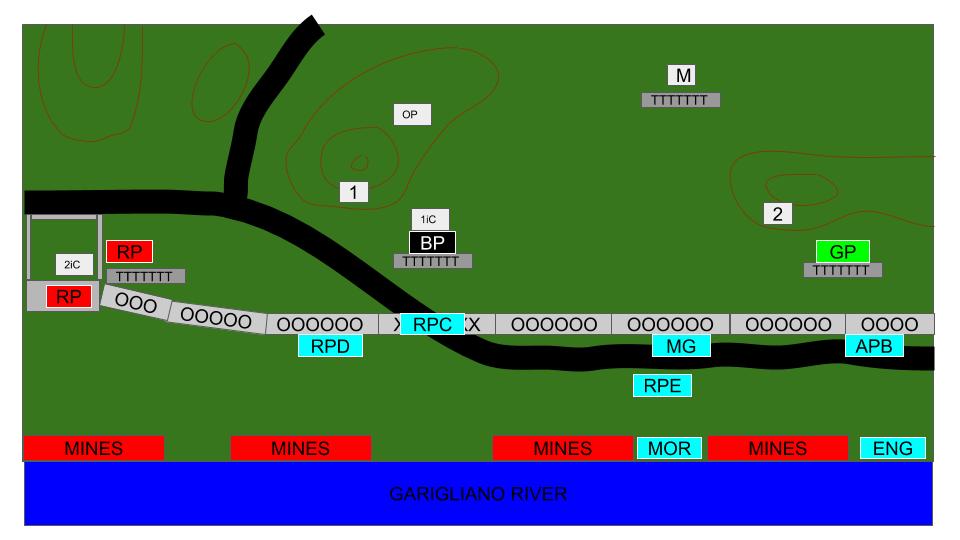 State of play at the end of Turn 3
 The Battlefield
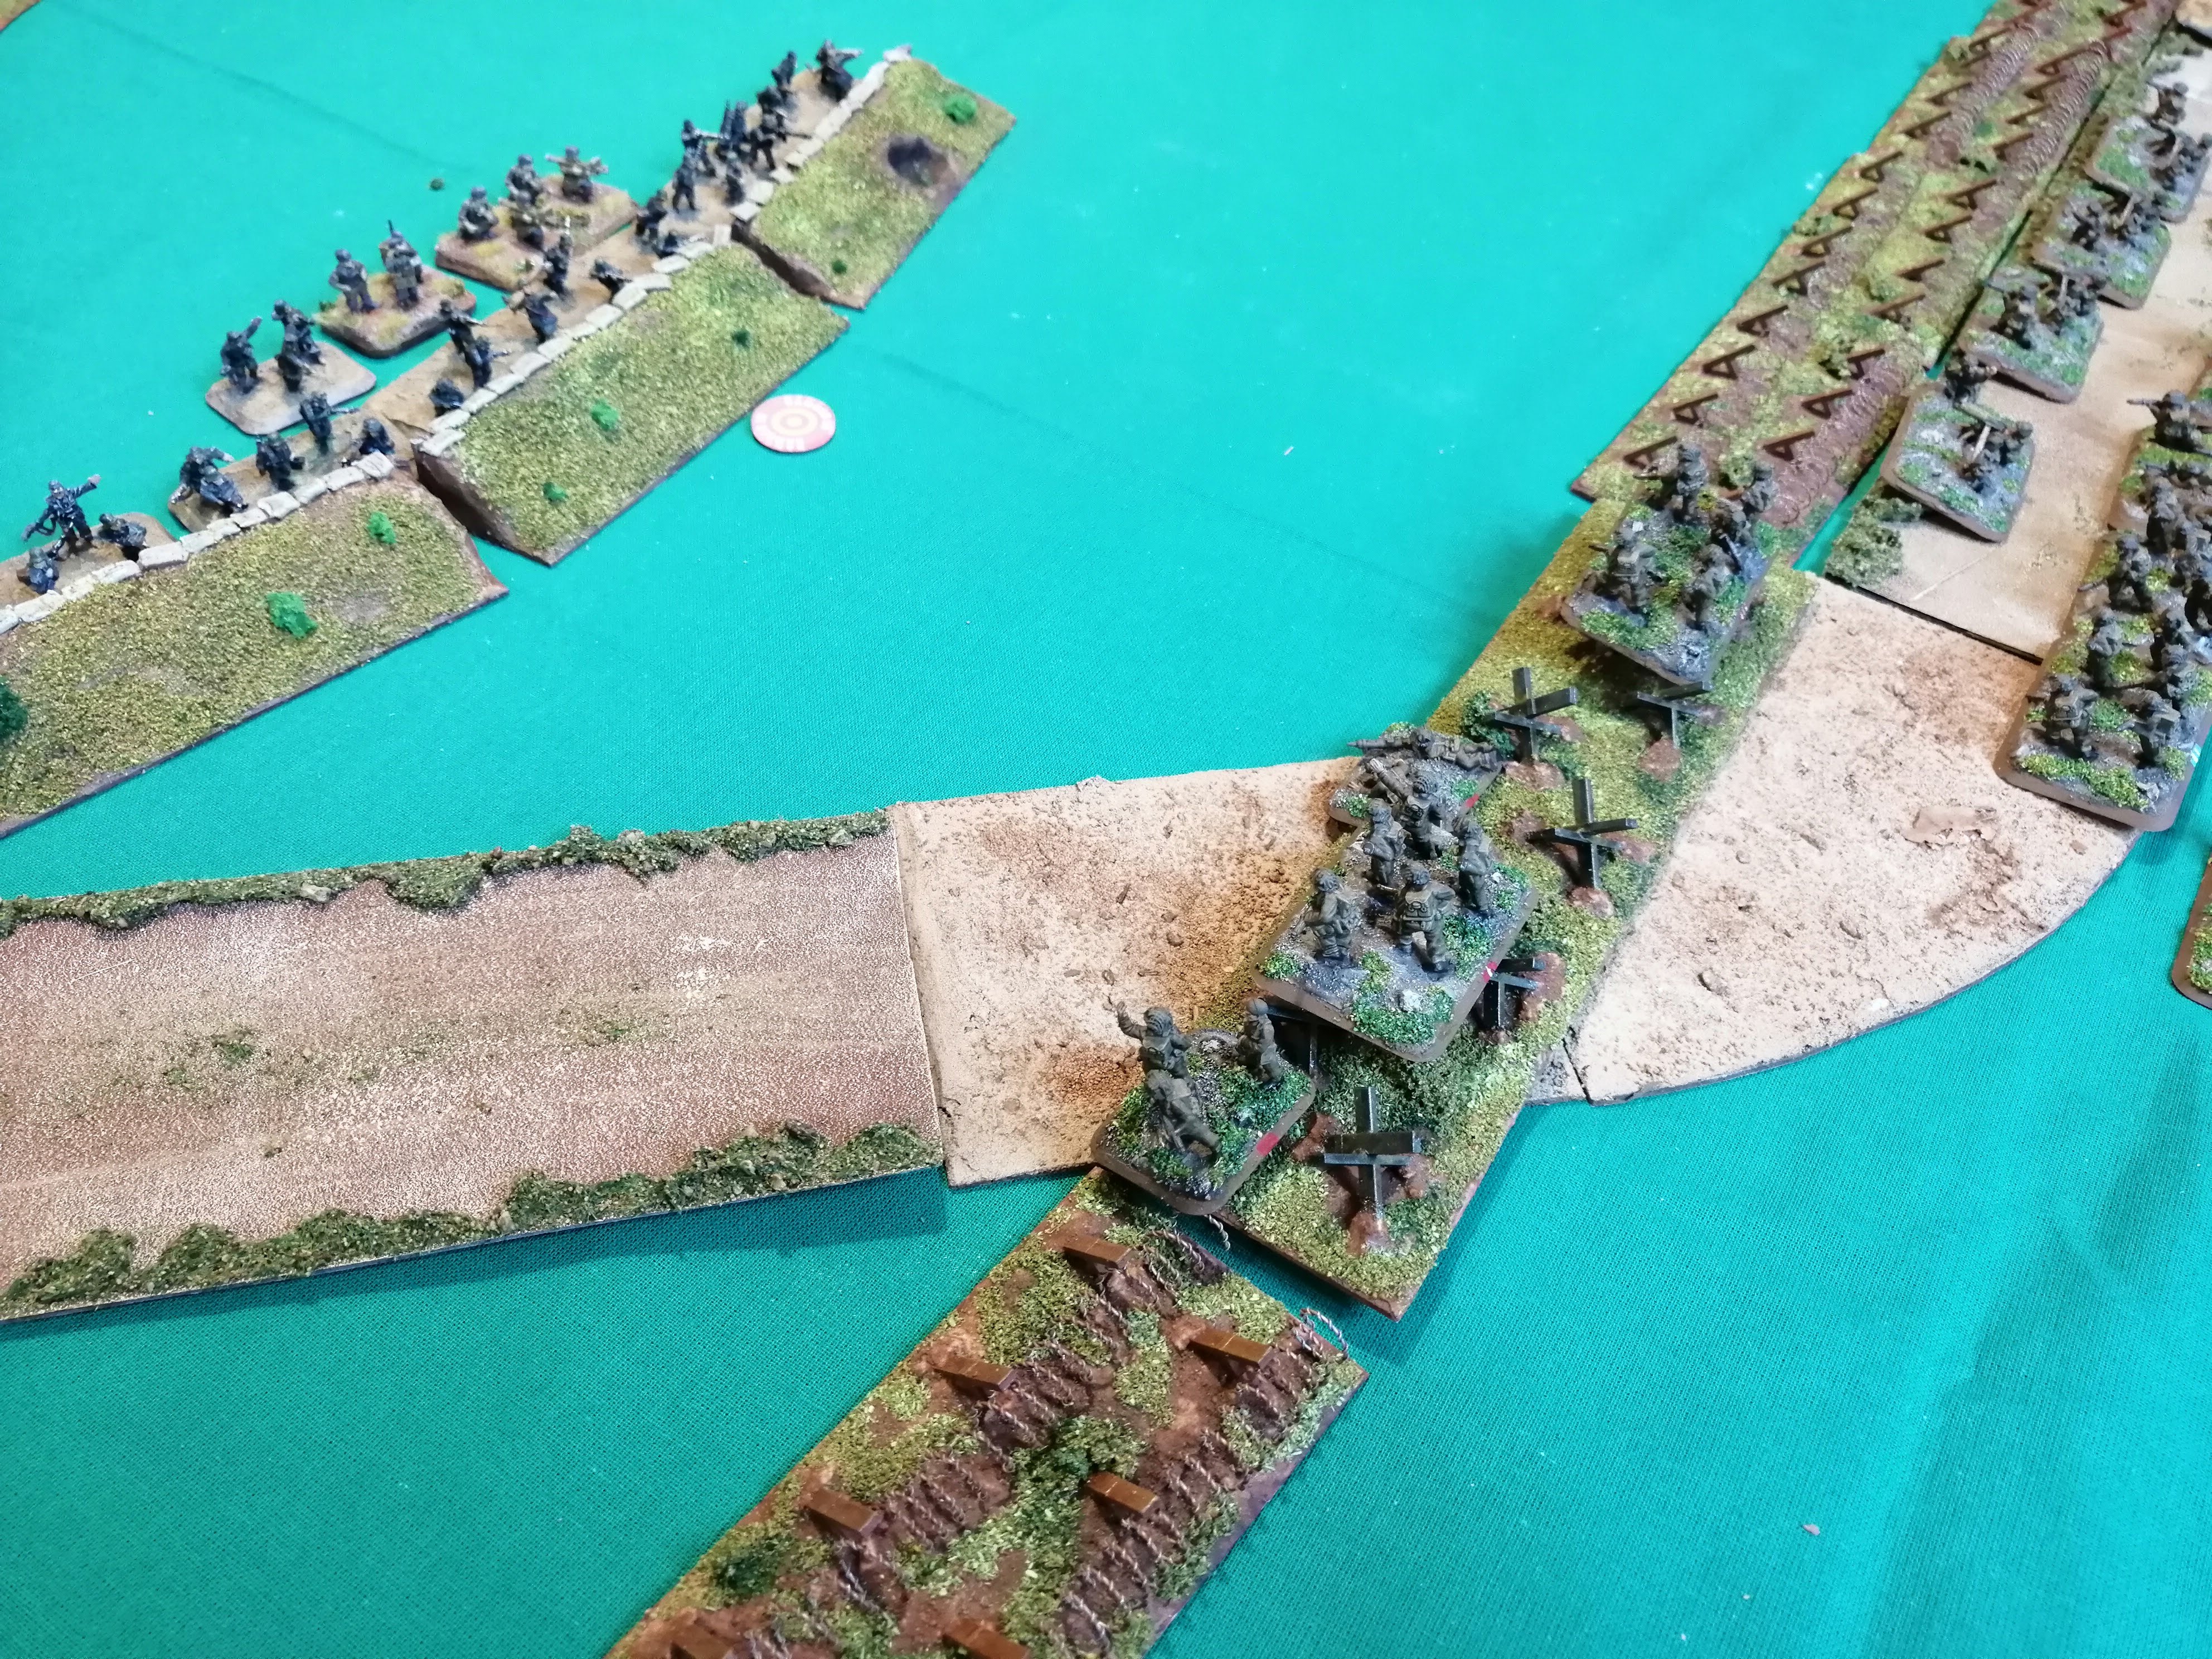
Turn 4
With nearly the entire 36th pinned down, it is imperative that the US command can get their troops up and advancing again to have any hope of salvaging the assault. Fortune favours the 36th and AP B, RP C and the Engineers are all able to get up and get moving. RP D and the MG teams however remain pinned.
RP F is allowed to deploy and arrives with the Company 1st in Command (1iC). Their deployment roll sees them fortuitously arrive alongside the Engineers, which will allow the 36th to really concentrate their assault up the right flank.
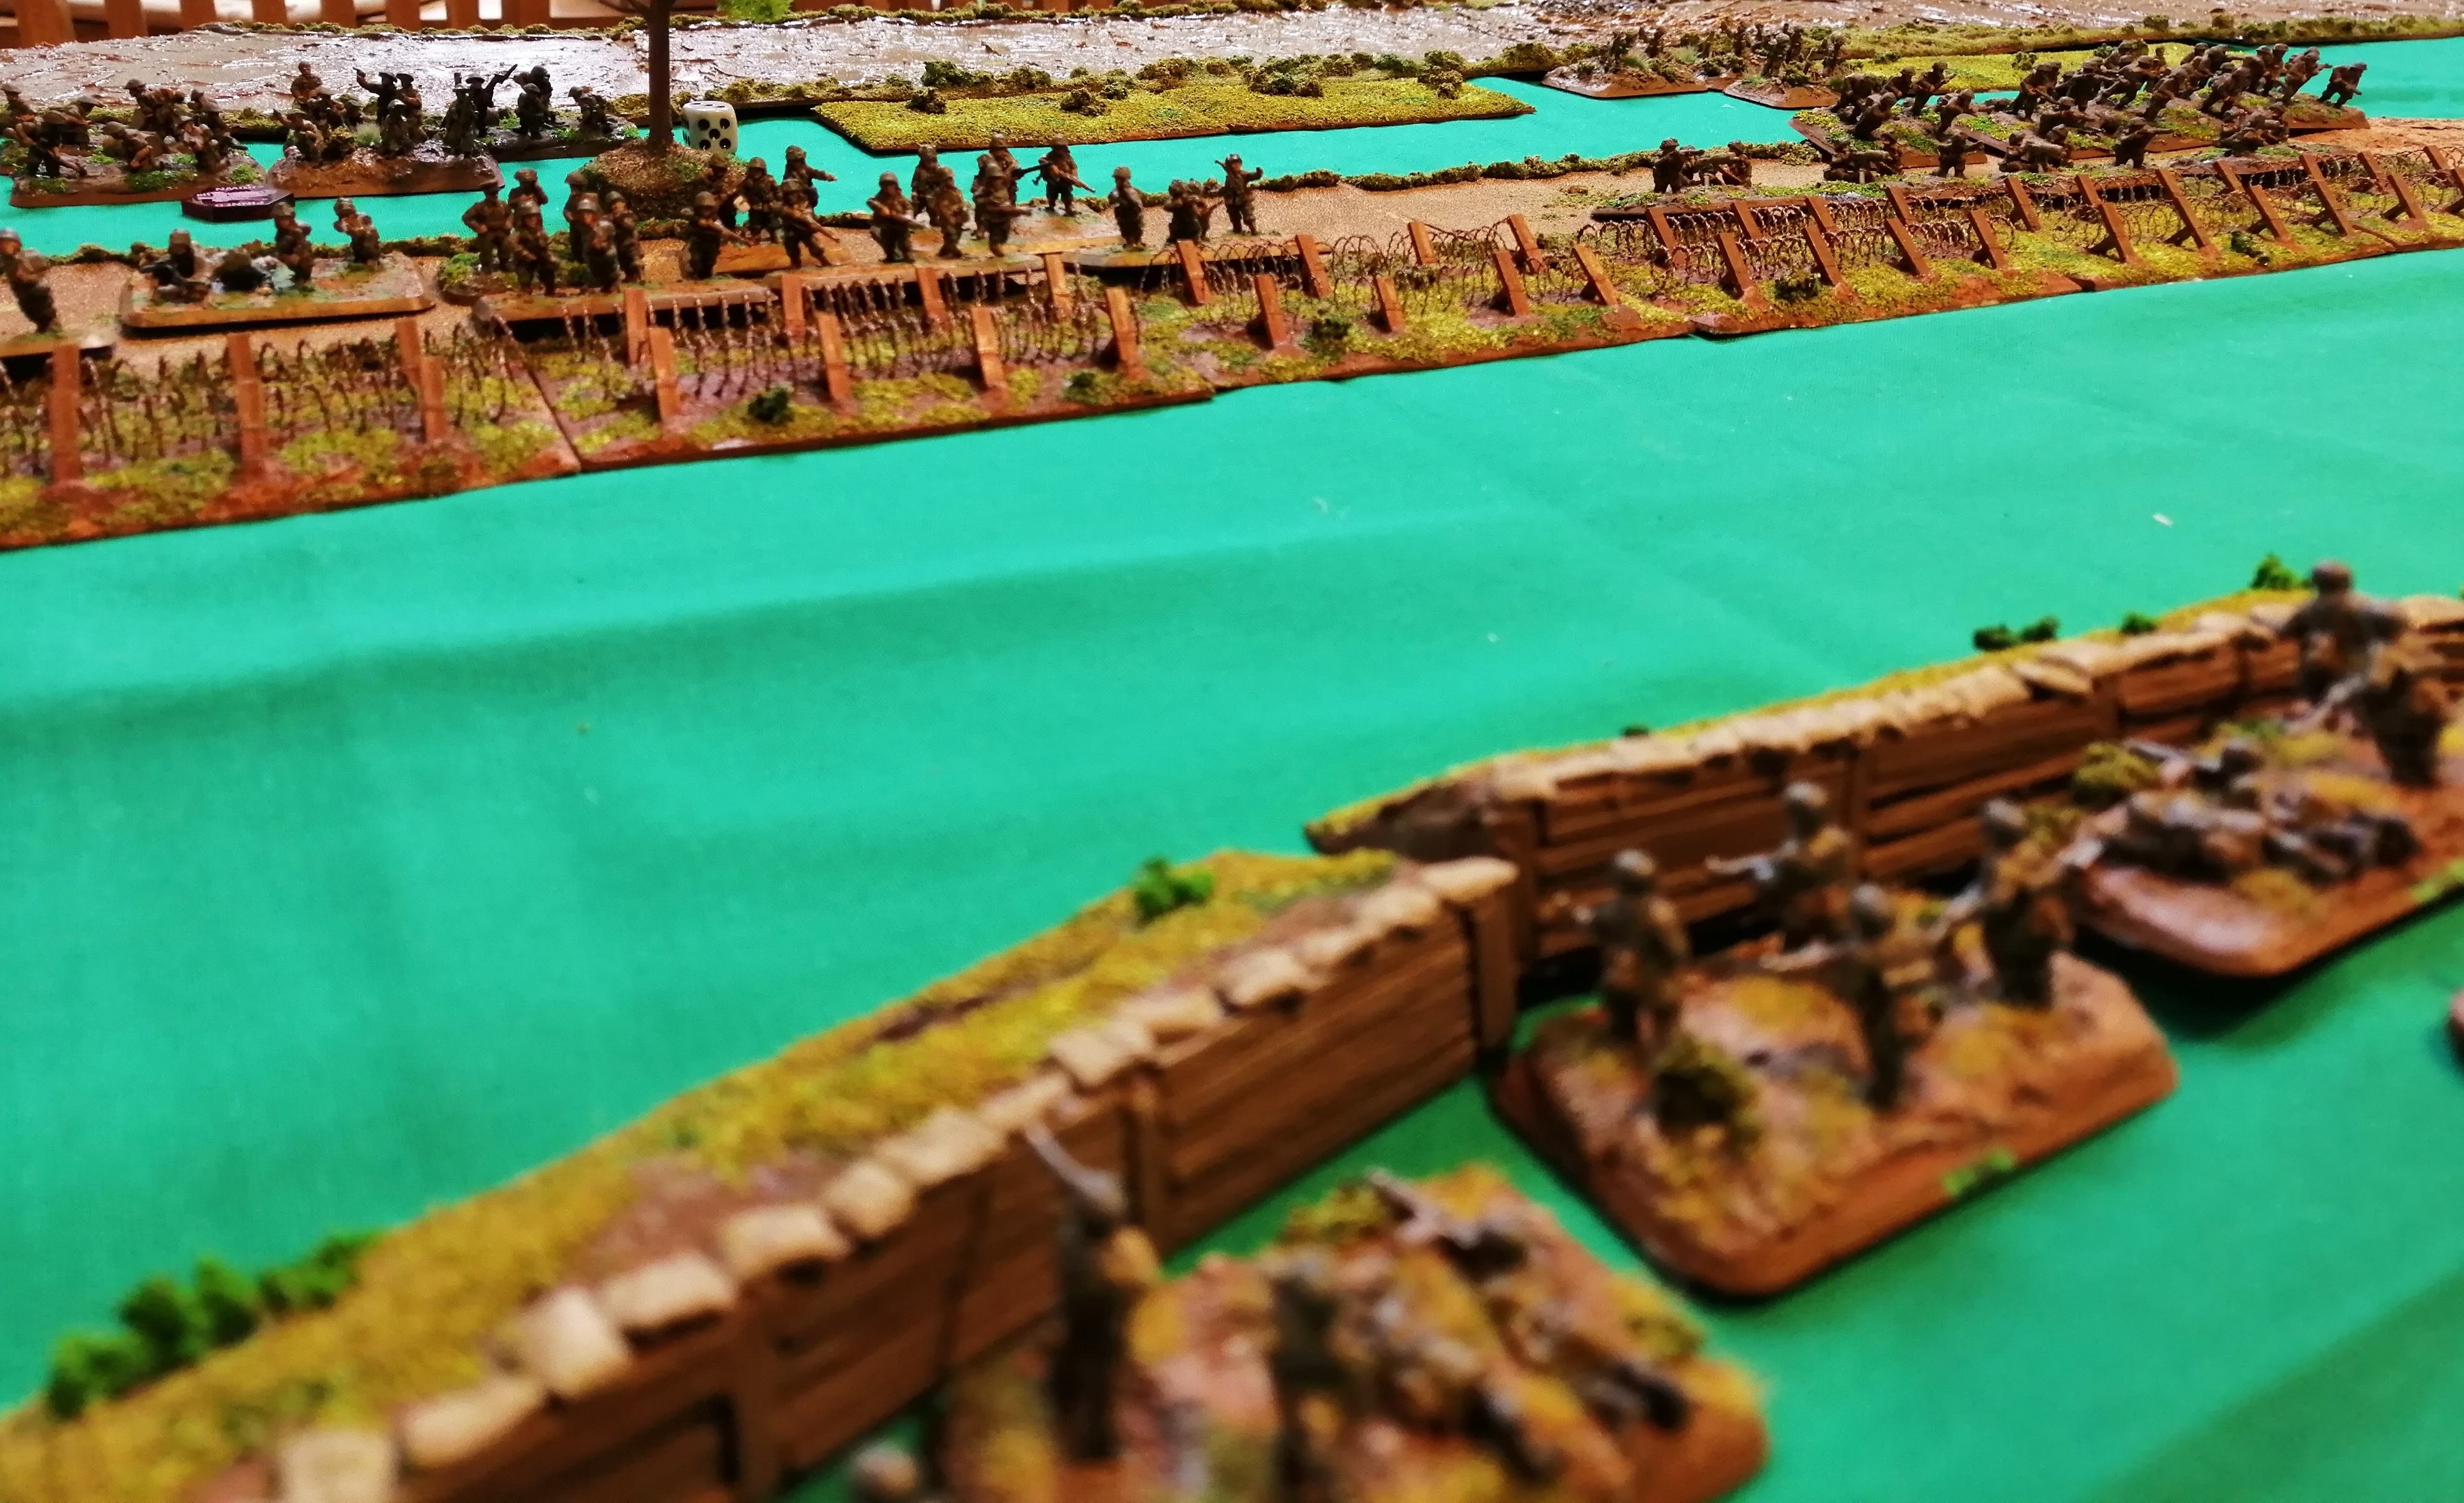
AP B attempts to cross the barbed wire entanglement and three teams manage it, including a flamer team but the rest of the platoon stop on the wrong side of the barbed wire. RP F is able to advance up behind AP B.
RP E moves up to the barbed wire between the MG teams and AP B and prepare to cross the following turn. Meanwhile, the engineers are not able to advance the pontoon bridge further this turn.
The tanks shoot first in the shooting phase and are able to smoke both HMG nests again. This will definitely provide some much needed cover for the advancing infantry platoons.
RP F, supporting AP B, are able to shoot just the once for fear of hitting AP B in front, Clearly the team taking the shot contains the platoon sharpshooter as they kill a Green Platoon team despite needing a 5 to hit, a 2 or less to not save and 6+ fire power check!
AP B are able to shoot and are in range with the flamer! The rifles miss however the flamer team is able to carry out its grisly task and destroys another team from Green Platoon. All of a sudden, Green Platoon has lost a third of its strength!
The rest of the 36th shooting was ineffective although Green Platoon was pinned down by the MG teams and Black Platoon is again pinned by the mortar team.
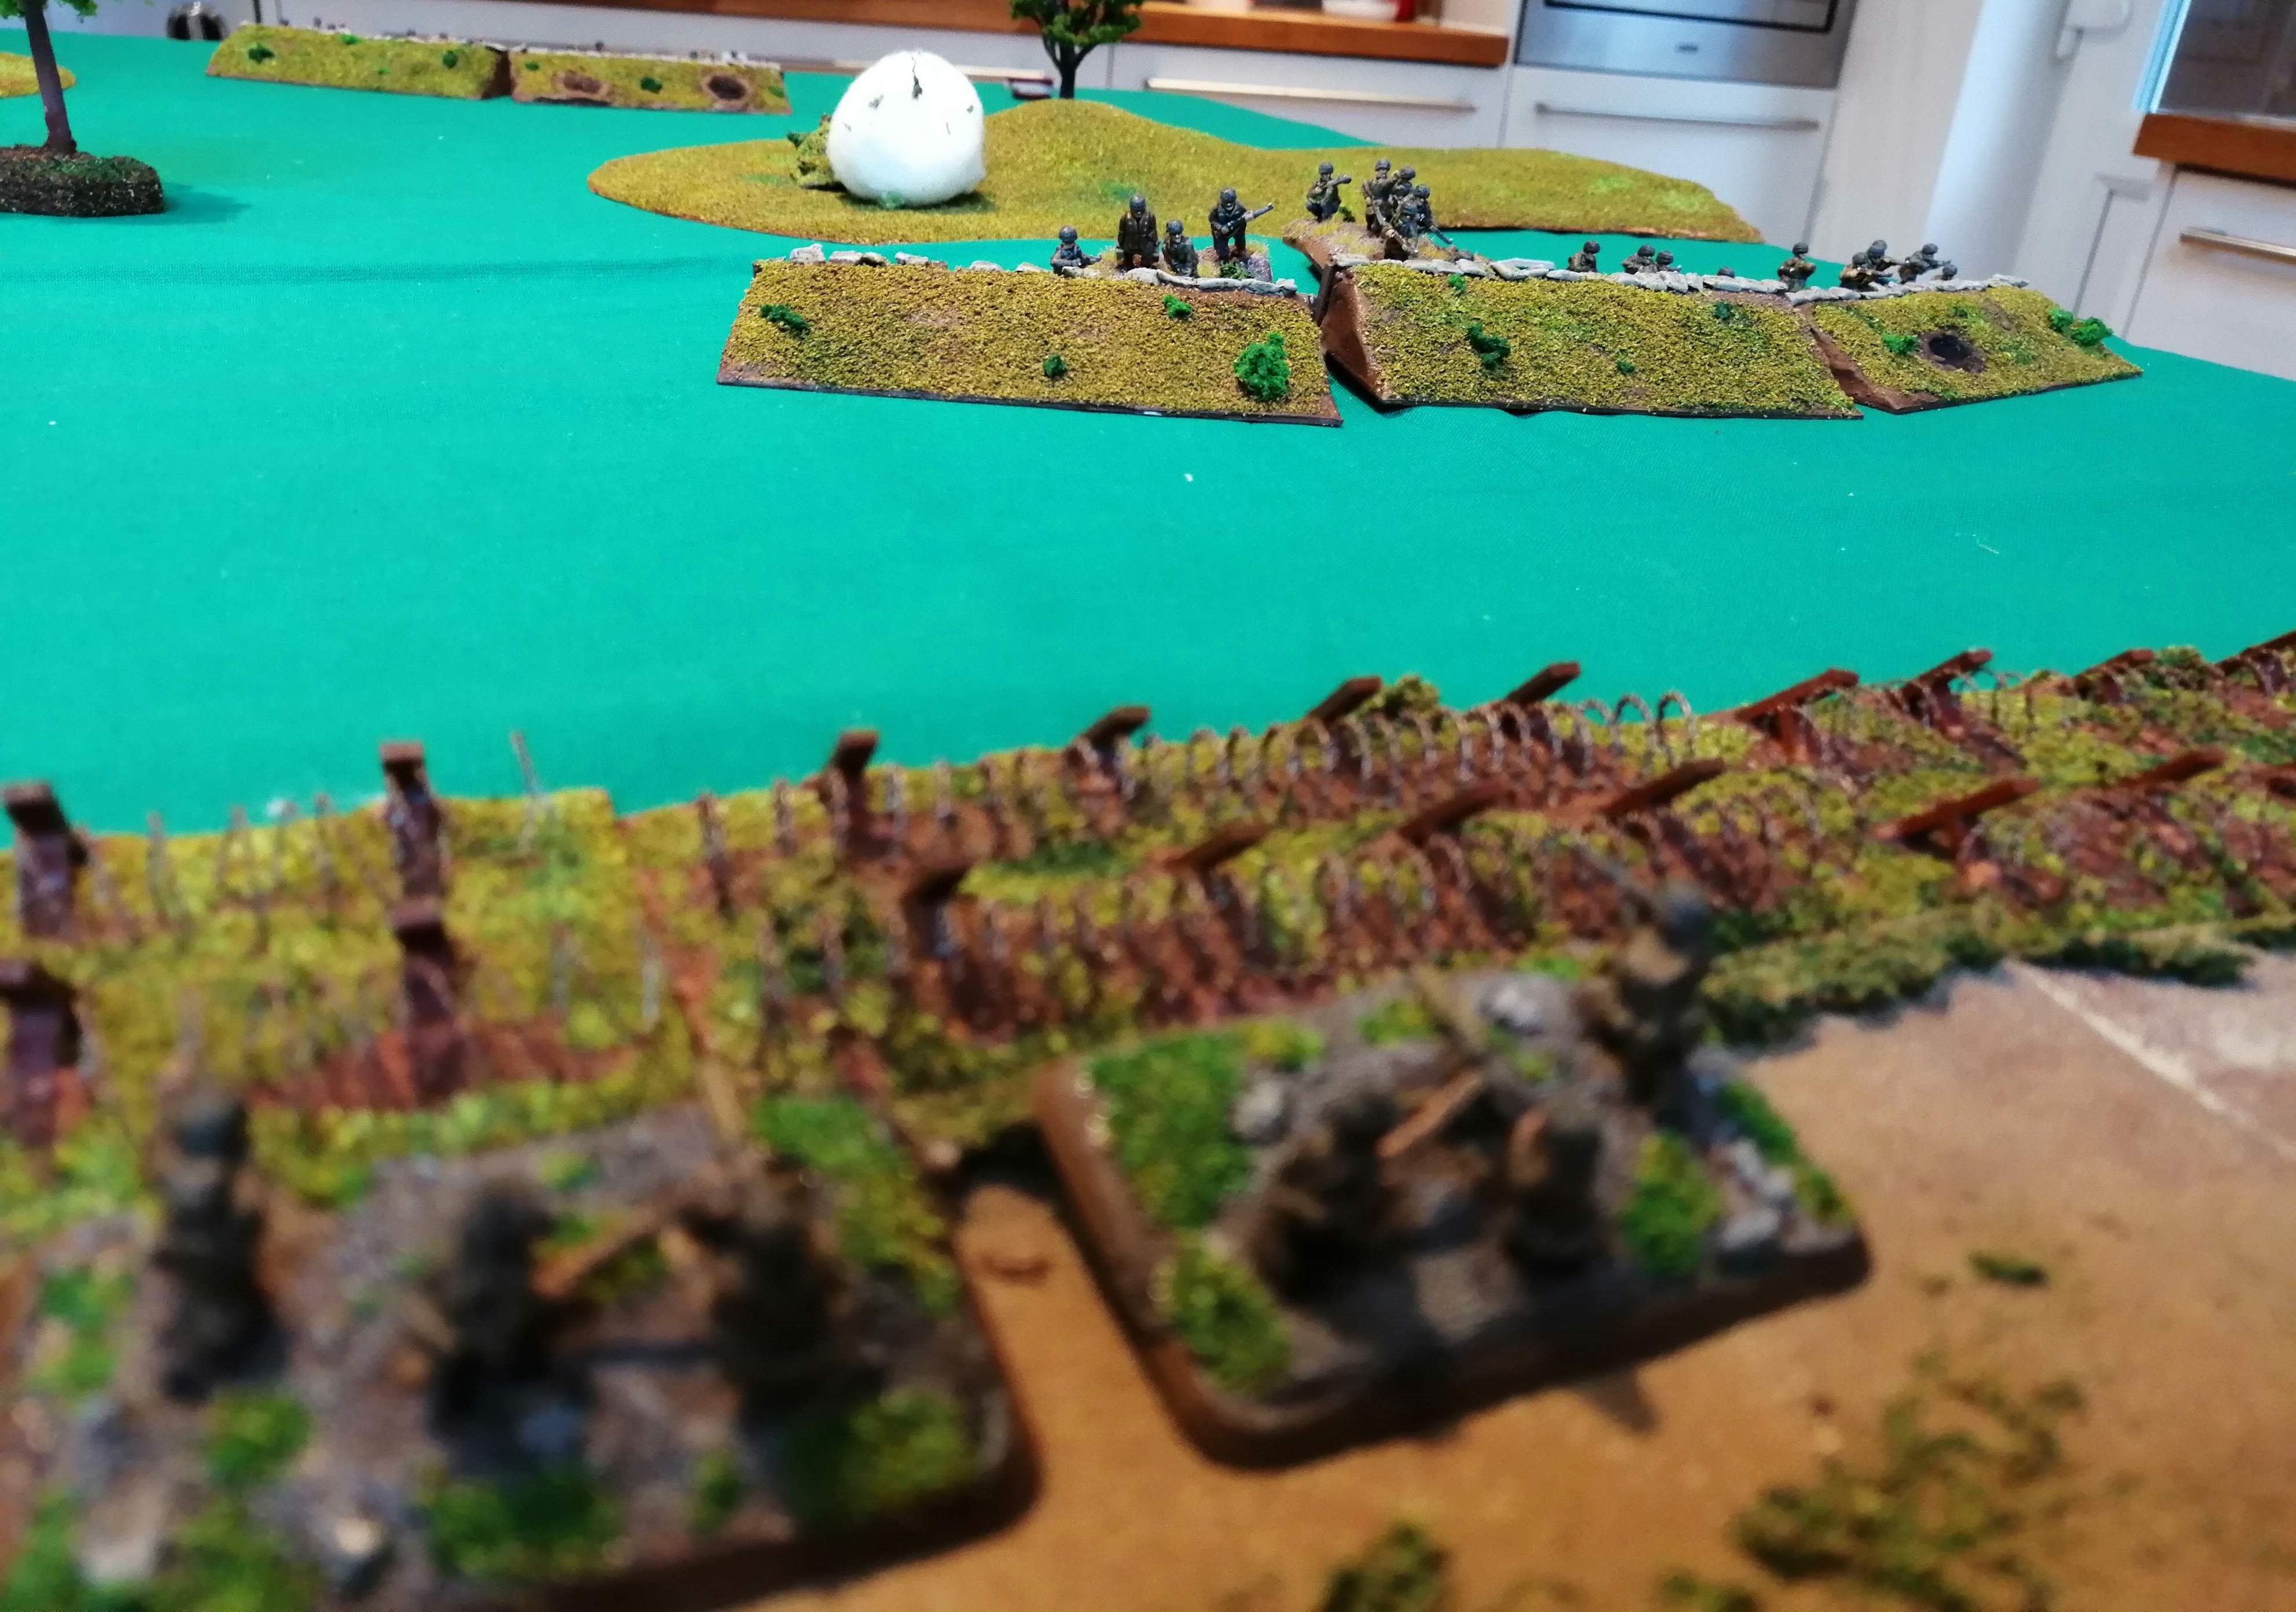
Black Platoon is able to unpin however Green Platoon, perhaps because they know a fiery death awaits the other side of their trench, keep their heads down and remain pinned. The rest of the 15th PG remain in place although the HQ are looking nervously toward their left flank and the gathering 36th troops – should they redeploy their right flank or remain in their trenches….?
Red Platoon kills another team from RP D. HMG 1 and Black Platoon fire upon RP C failing to wound but pinning them in place. Black also fire upon the MG teams and destroy another team reducing the MG teams to half strength.
Attention shifts to AP B in front of Green Platoon’s trench. Green Platoon, despite being pinned, can still mange 8 shots but only hit three times with all of these being saved! HMG 2 also opens up on AP B having more luck and killing another team. The mortar team repeats the bombardment and despite not causing a wound, does manage to pin AP B in place. The mortar team also catches RP F, pinning them as well.
At the end of turn 4, the 36th find themselves almost destroyed in the middle, with RP C down to 3 teams and RP D down to just a single team. AP B has lost two teams but still has both flamer teams in place and are still being led by the company 2iC. They also have support on their right from RP E, RP F and the now half strength MG Teams. Is this weight of numbers going to be enough?
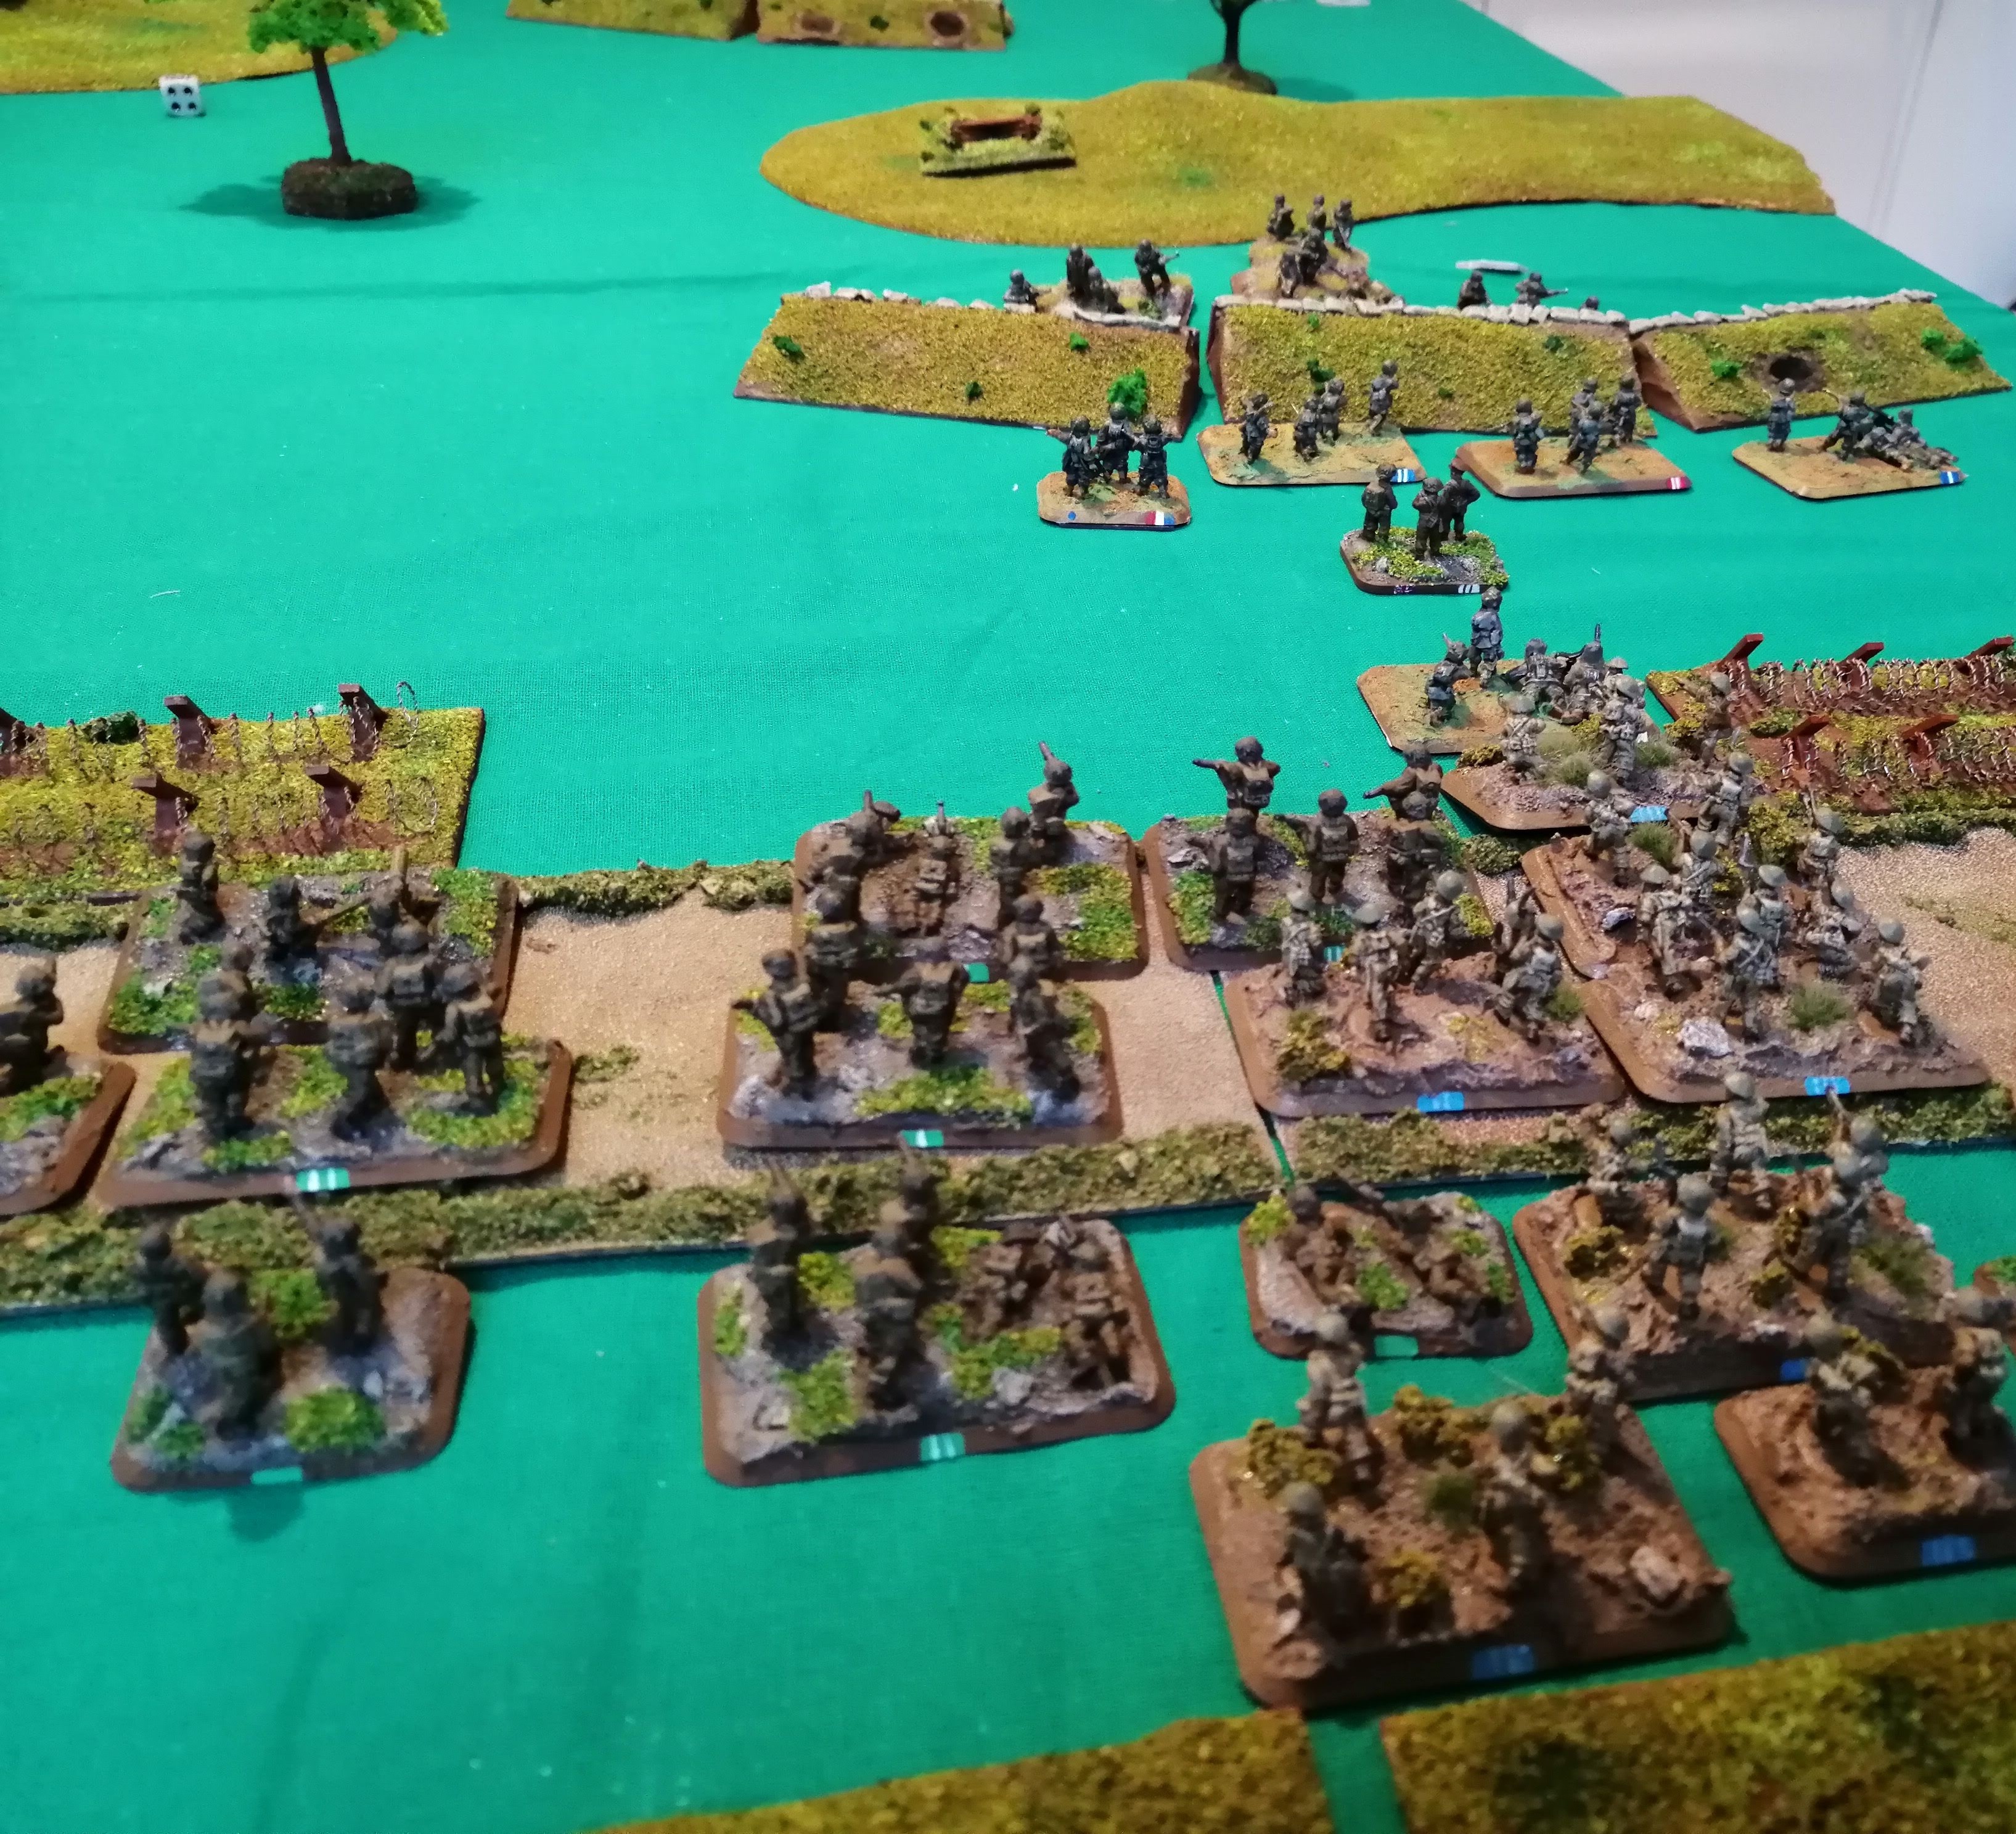
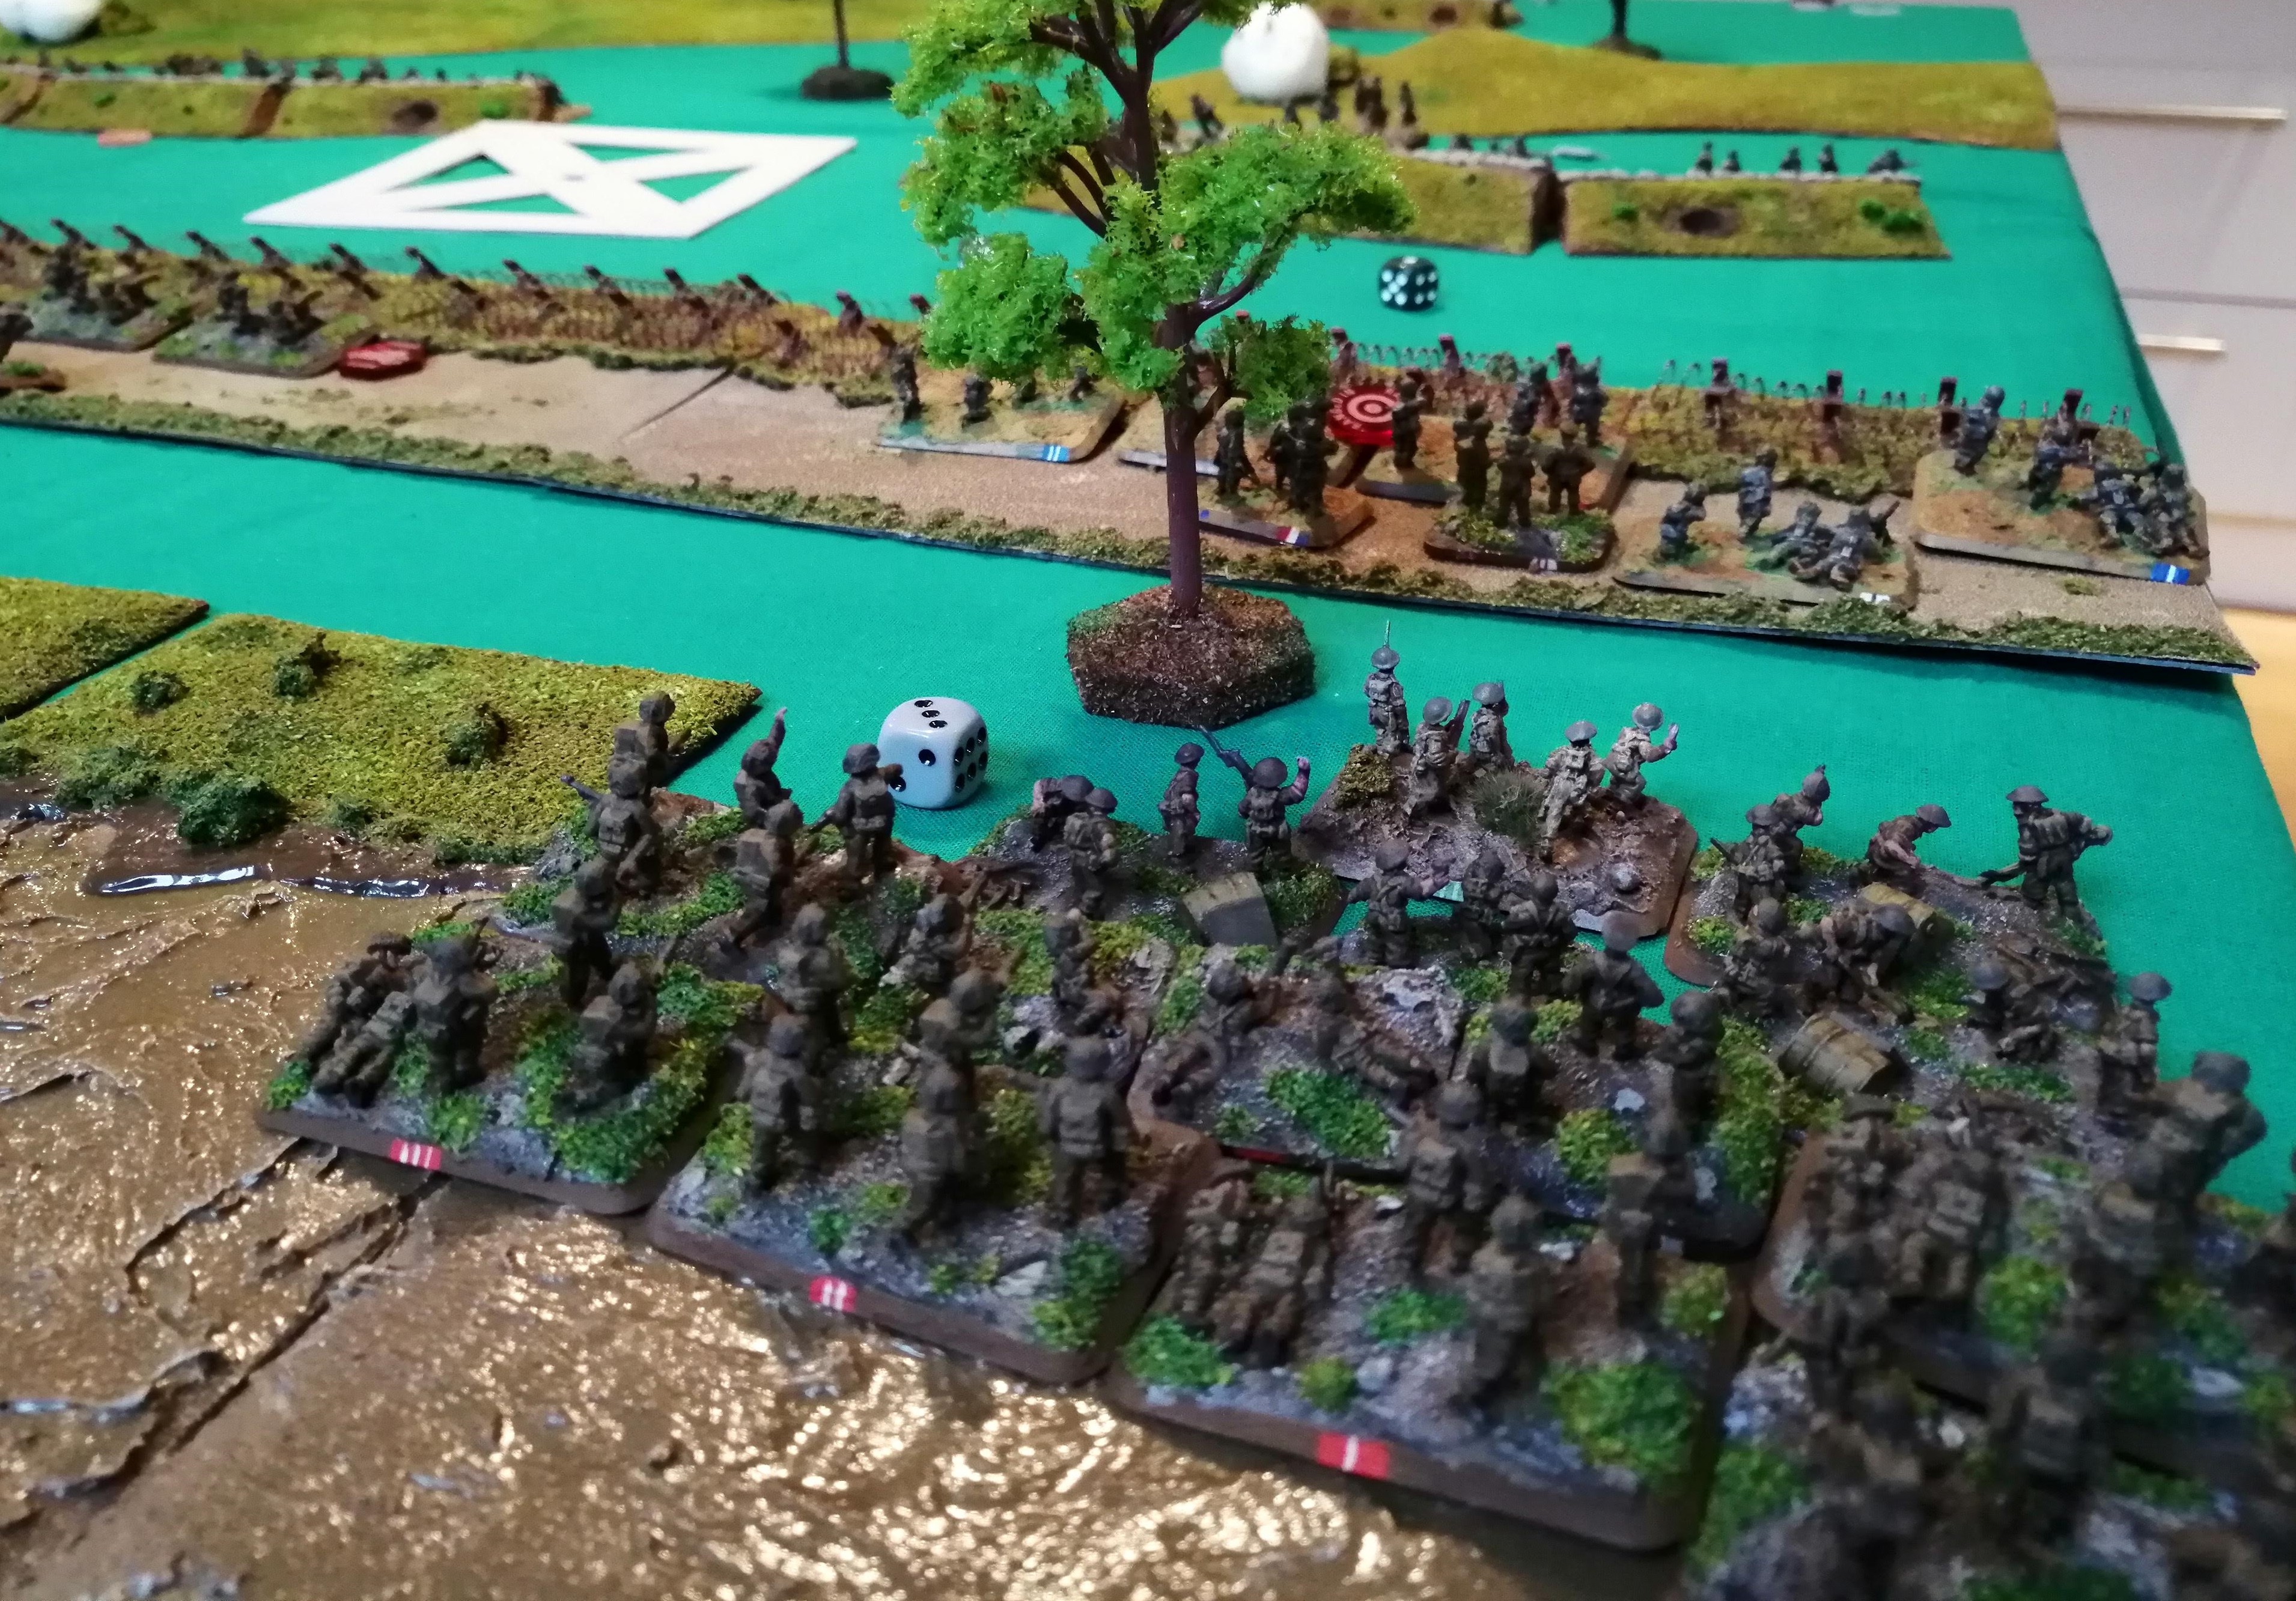 Reinforcements land on the North banks of the Garigliano
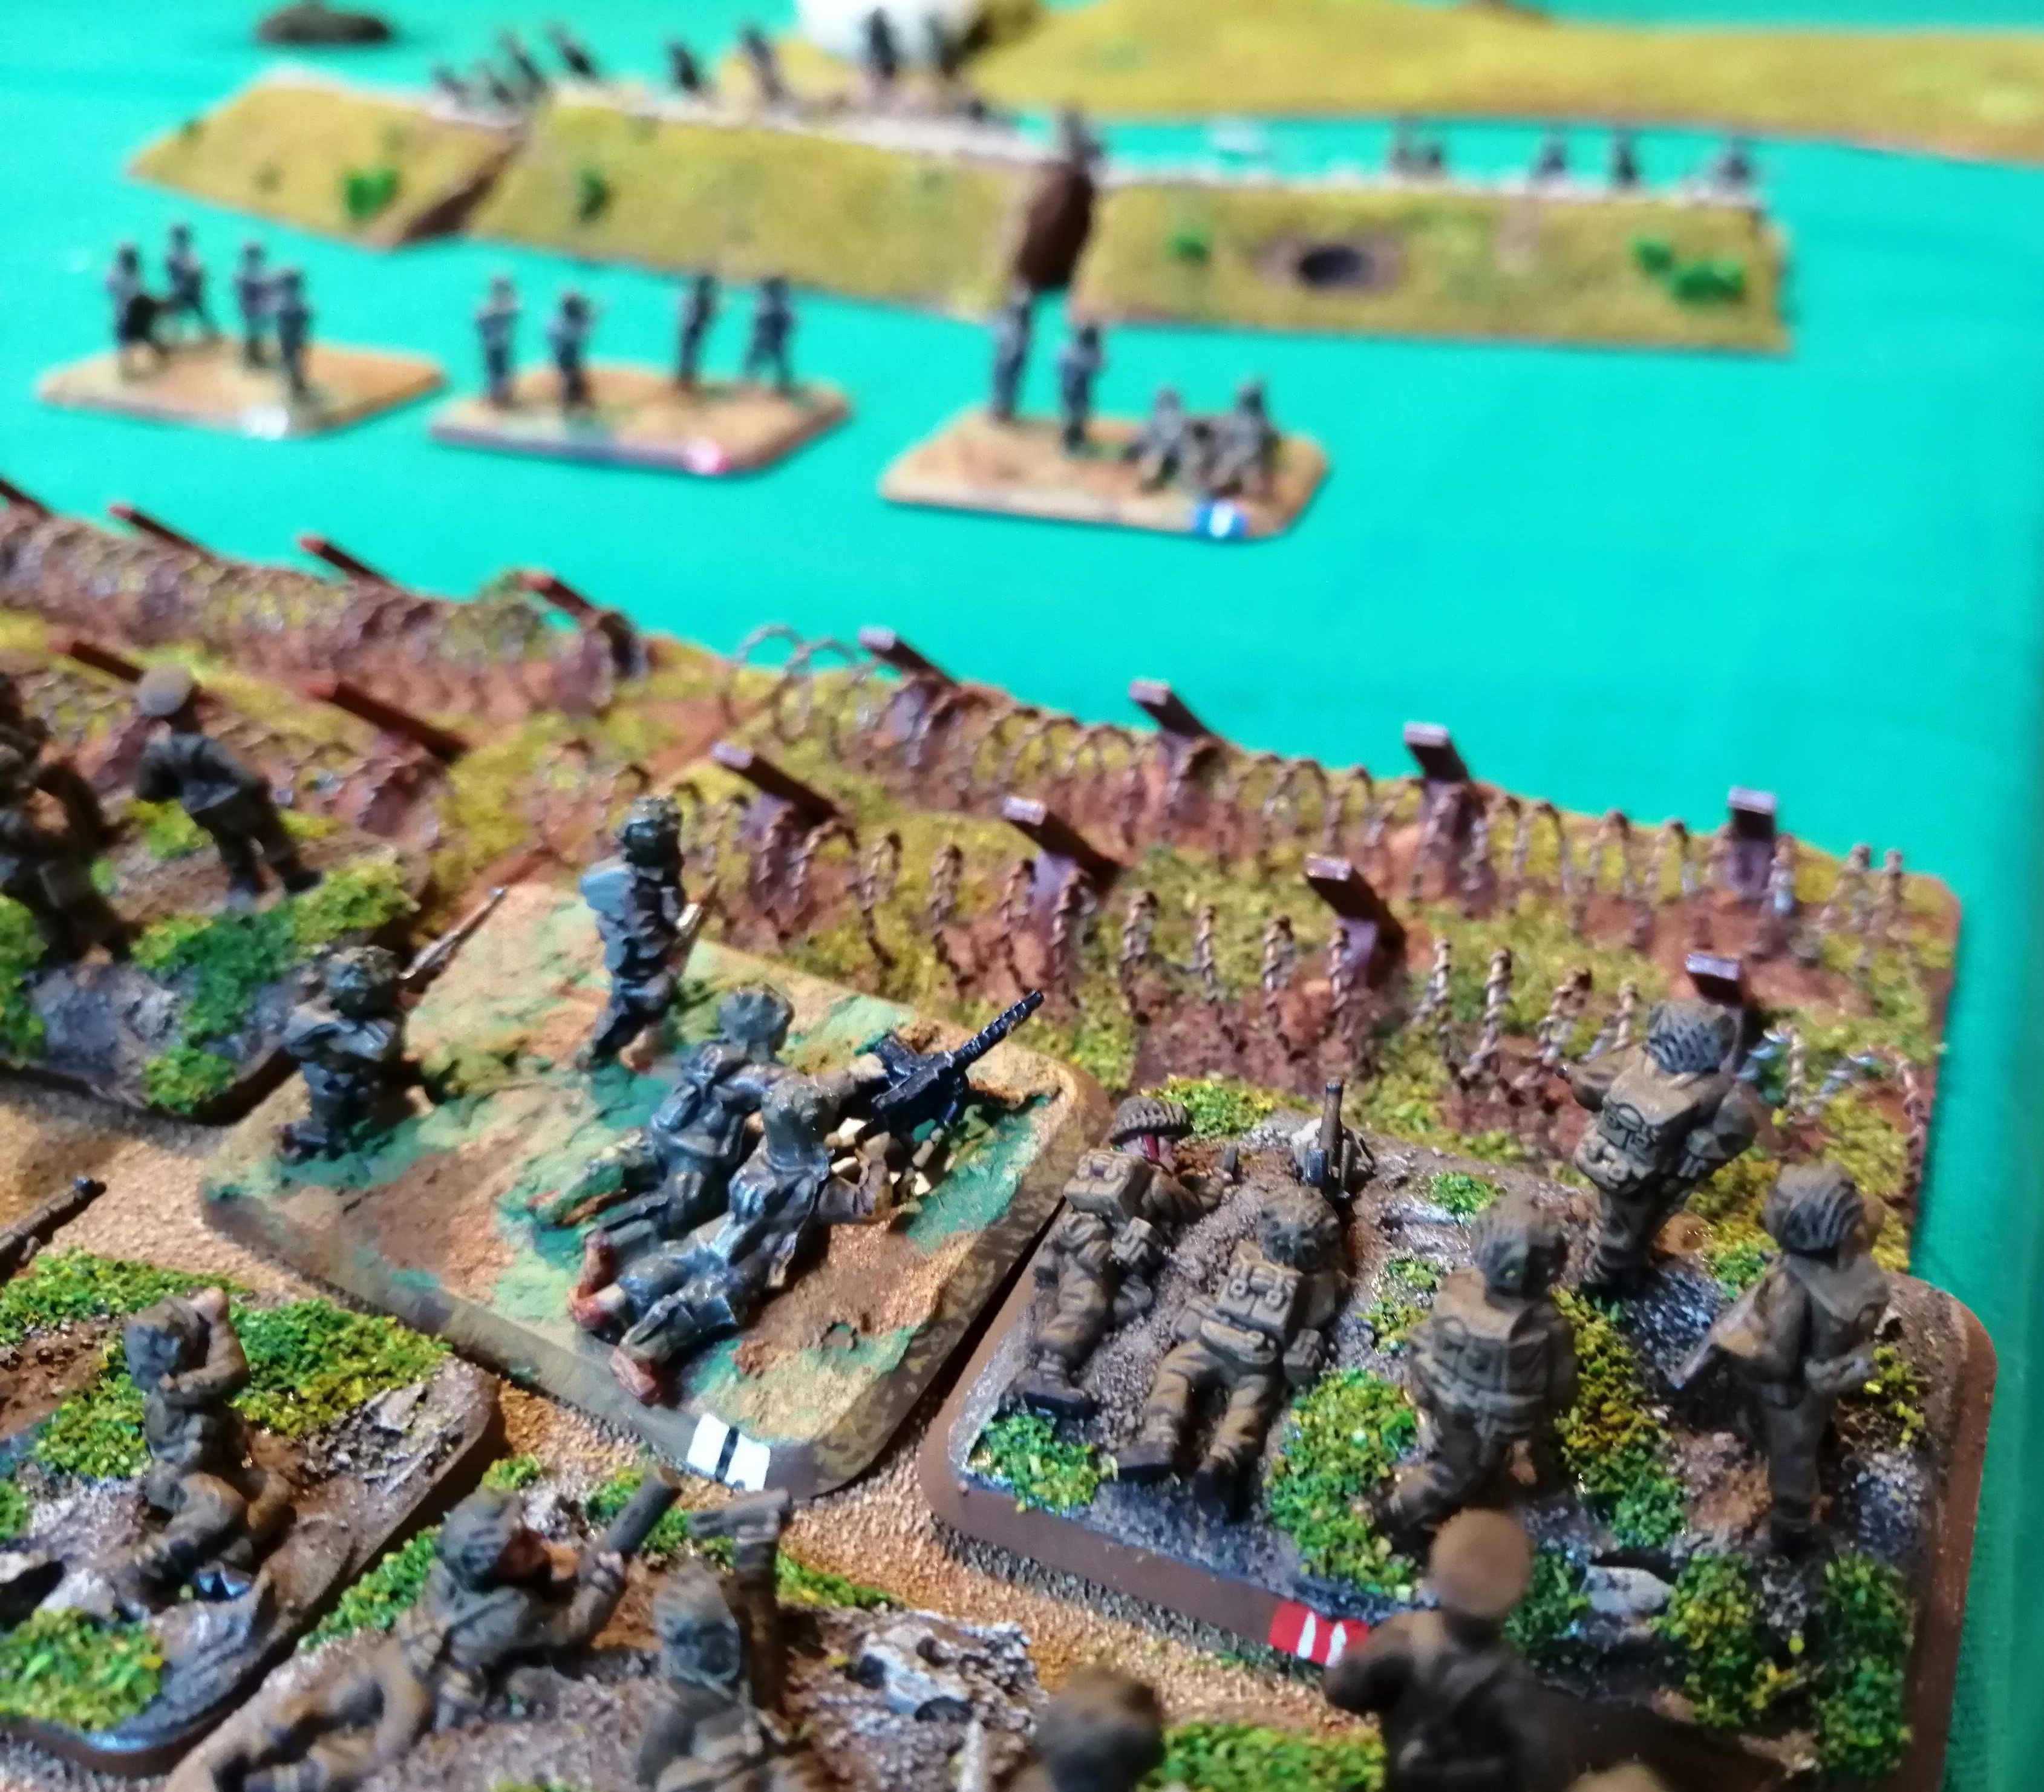 Some of APB get caught at the barbed wire while three teams make it through
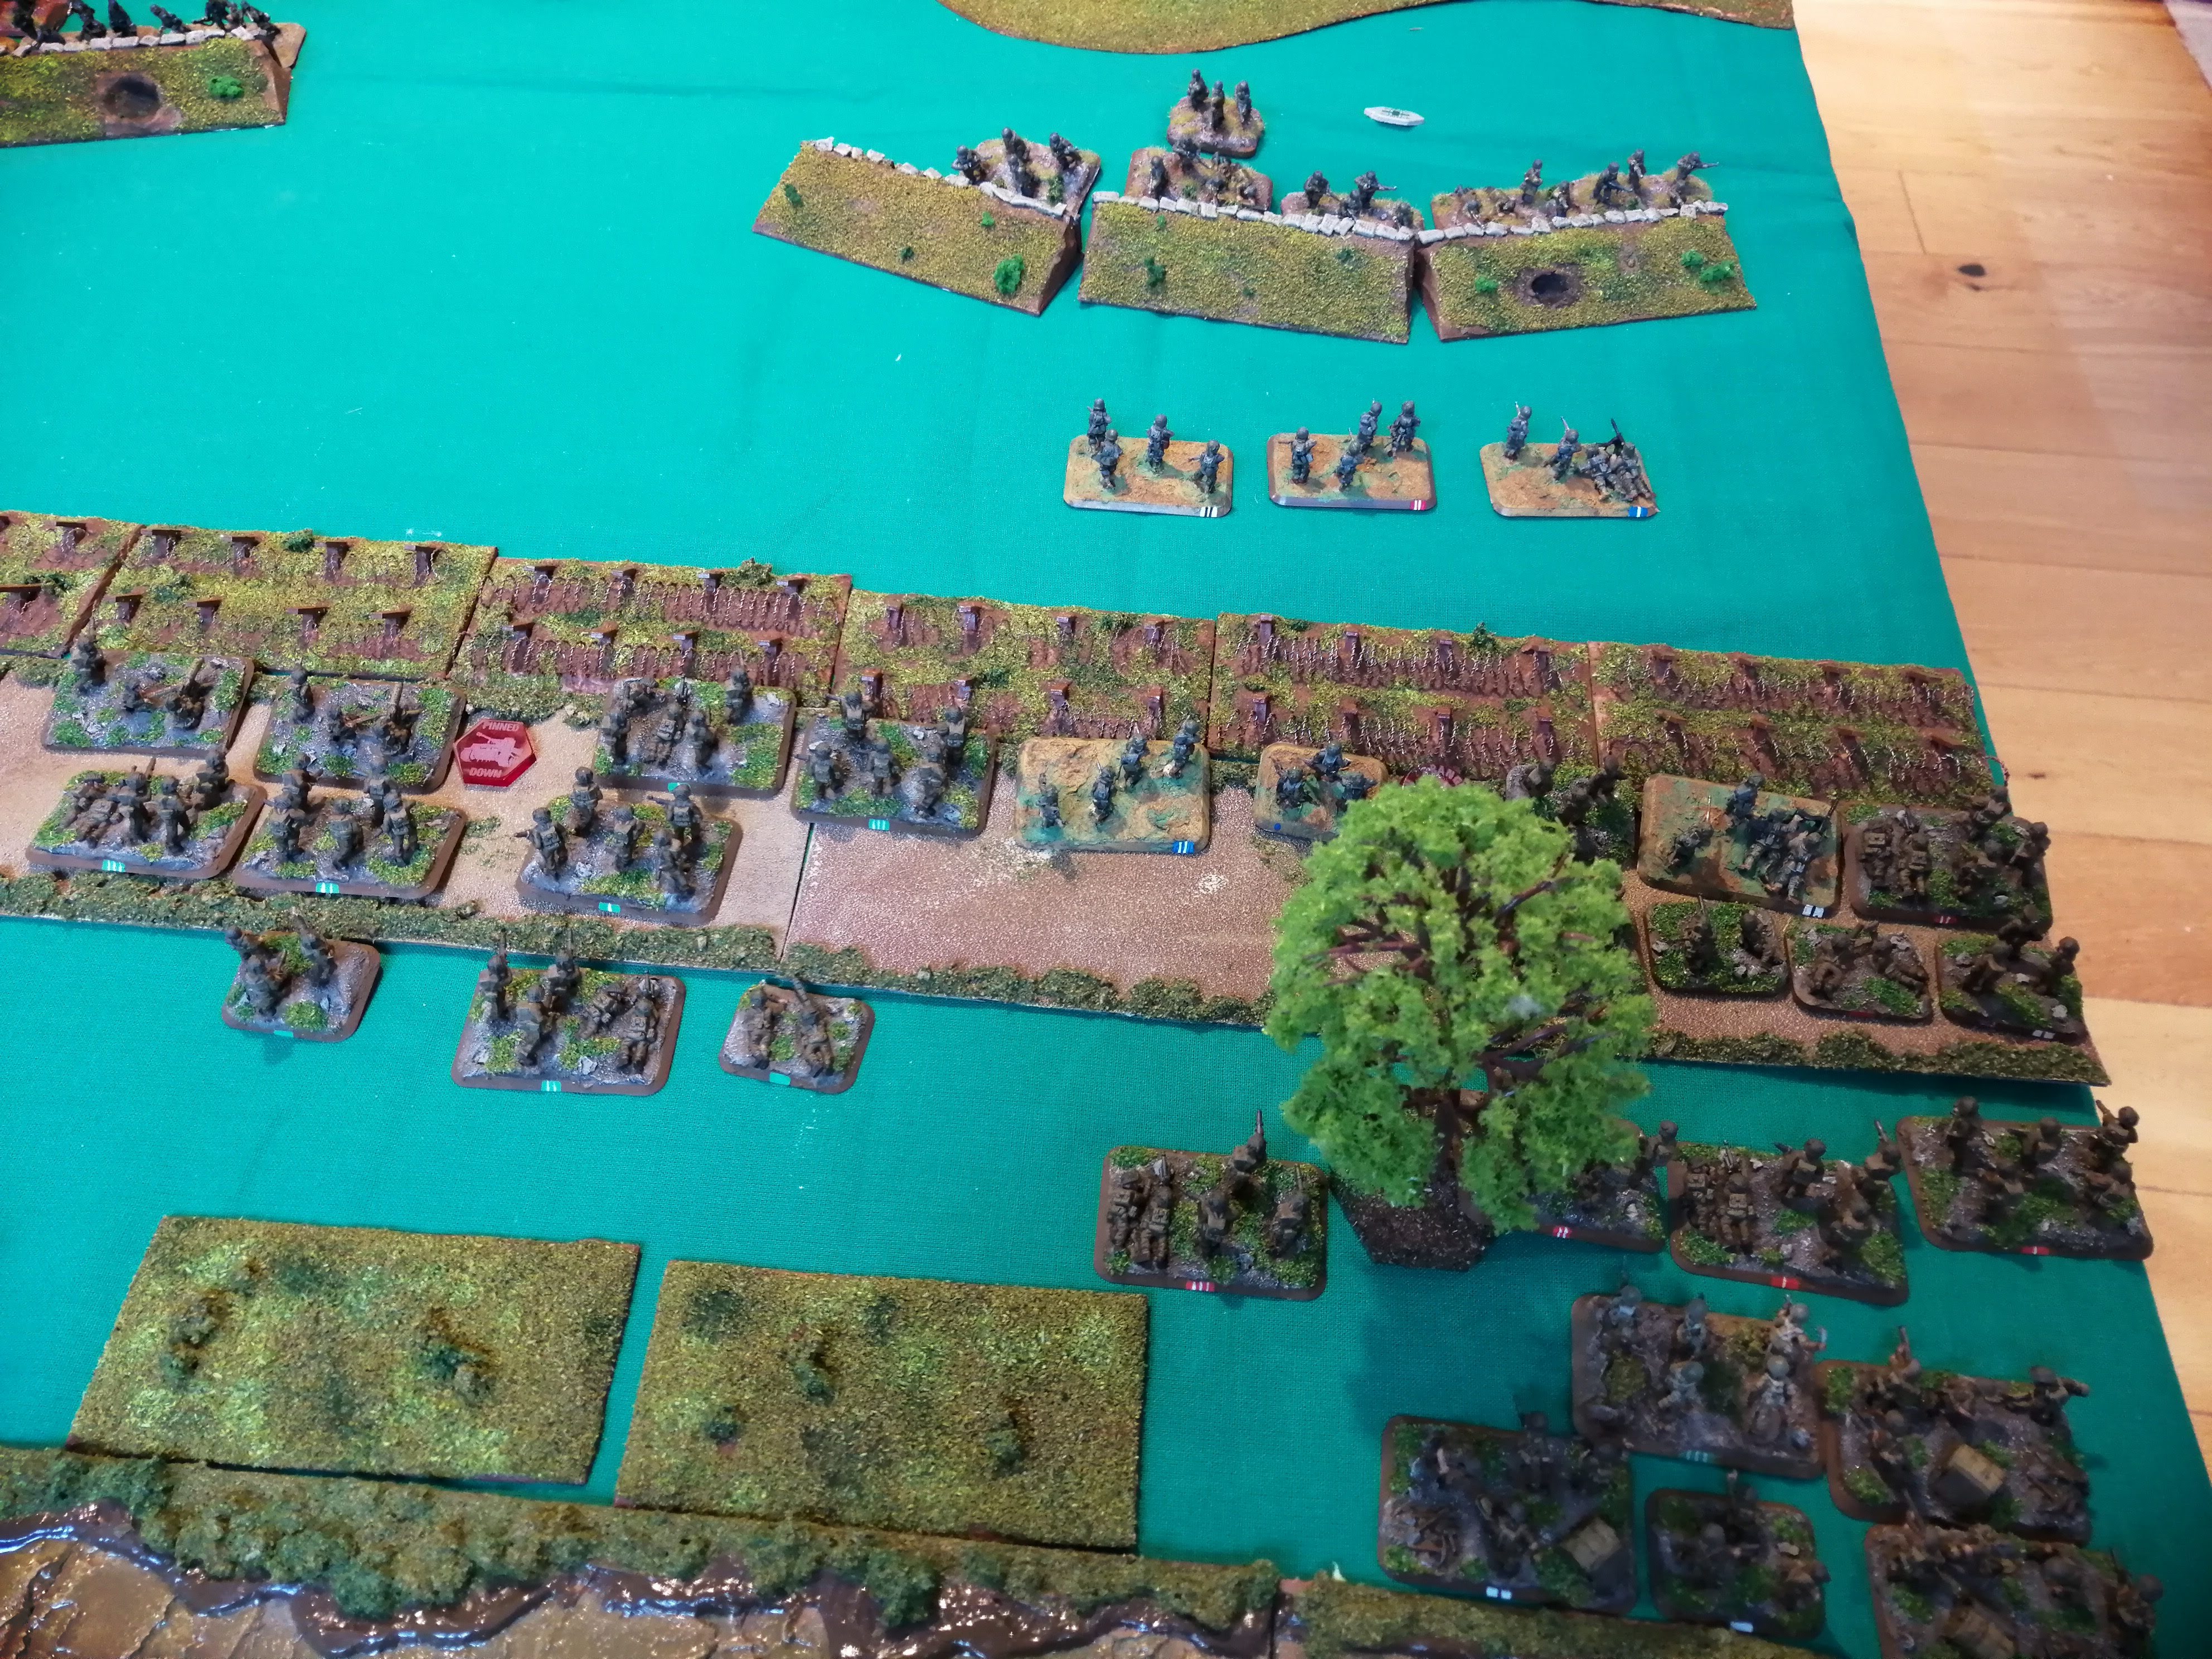


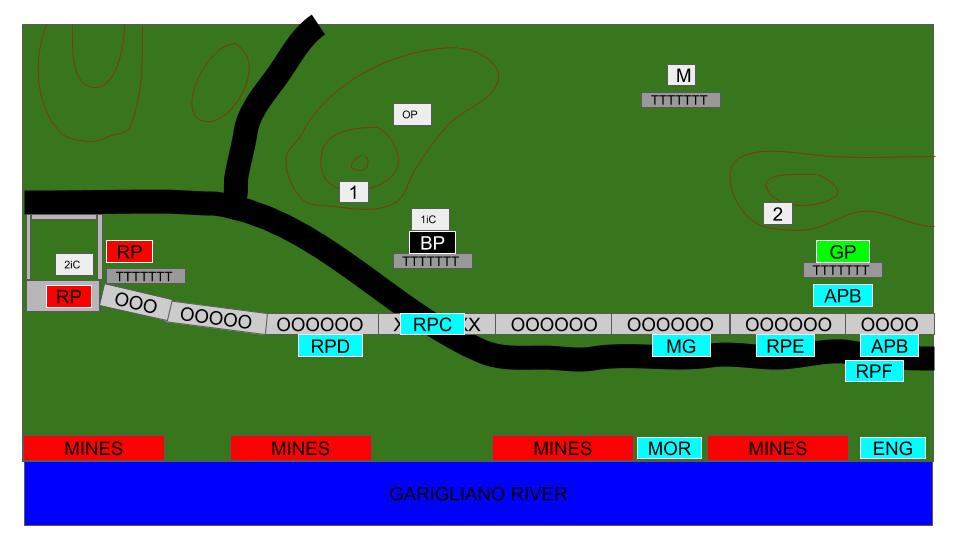 End of Turn 4


Leave a Reply